Week 2
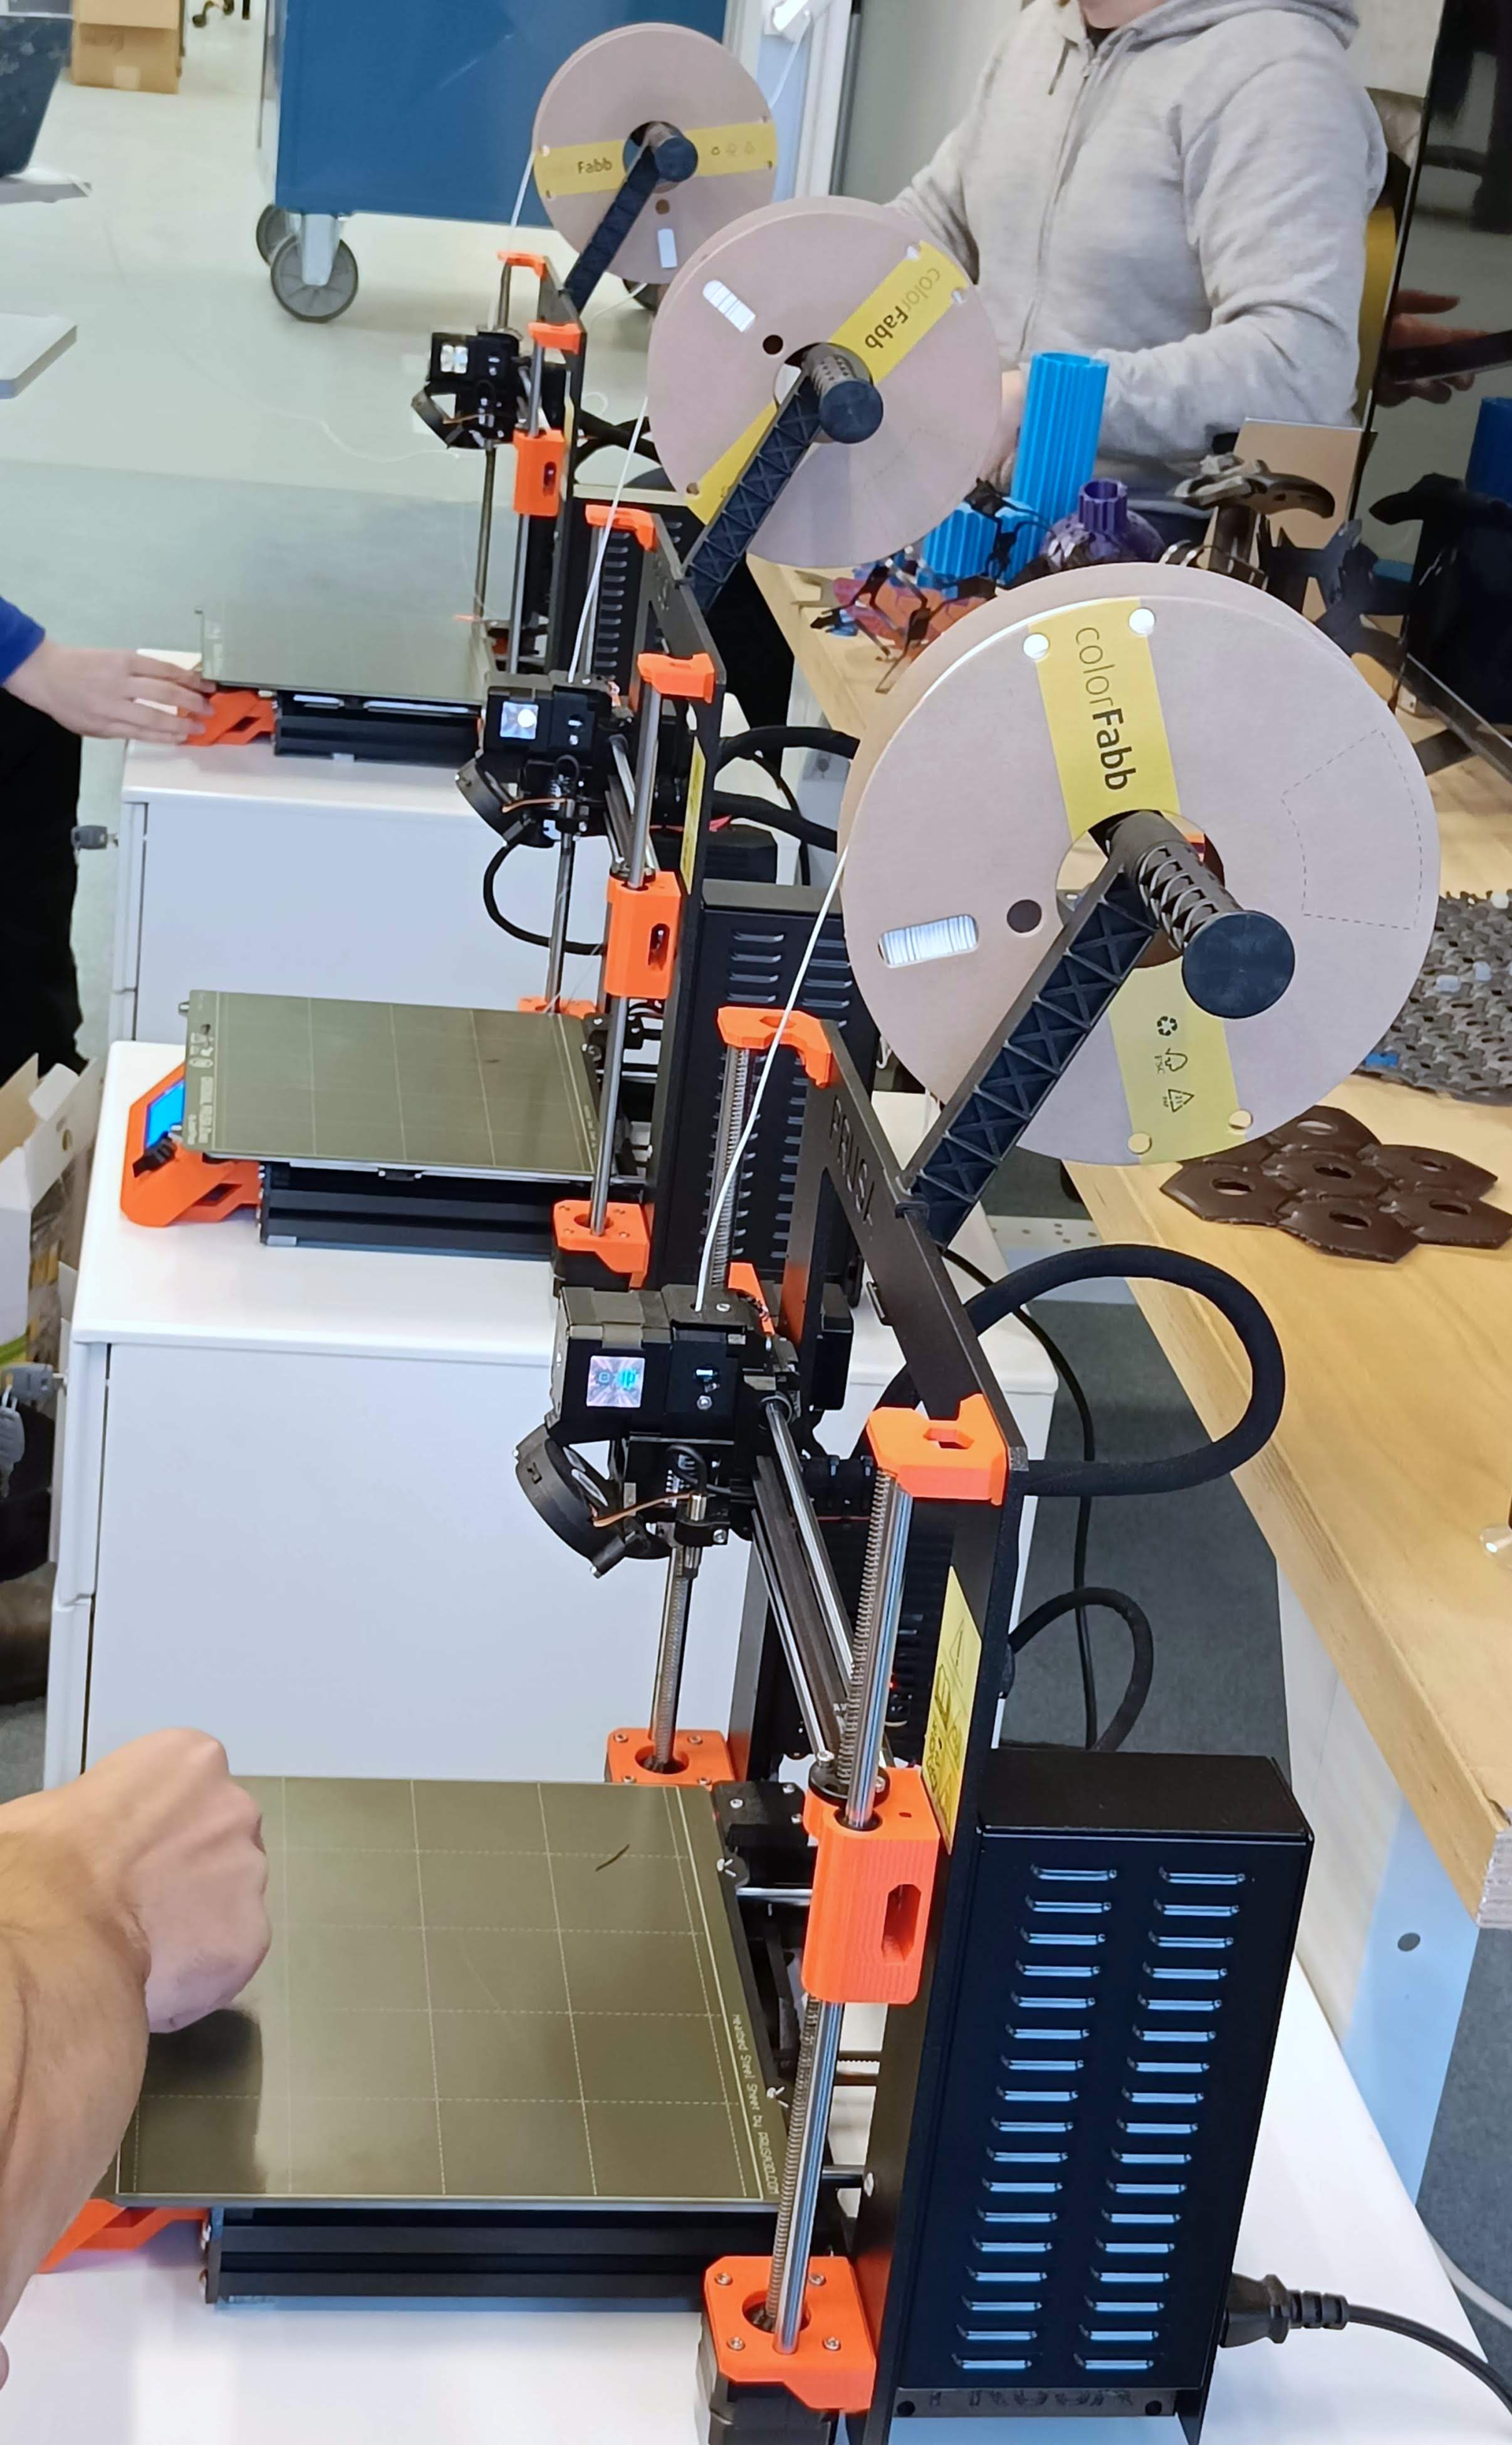
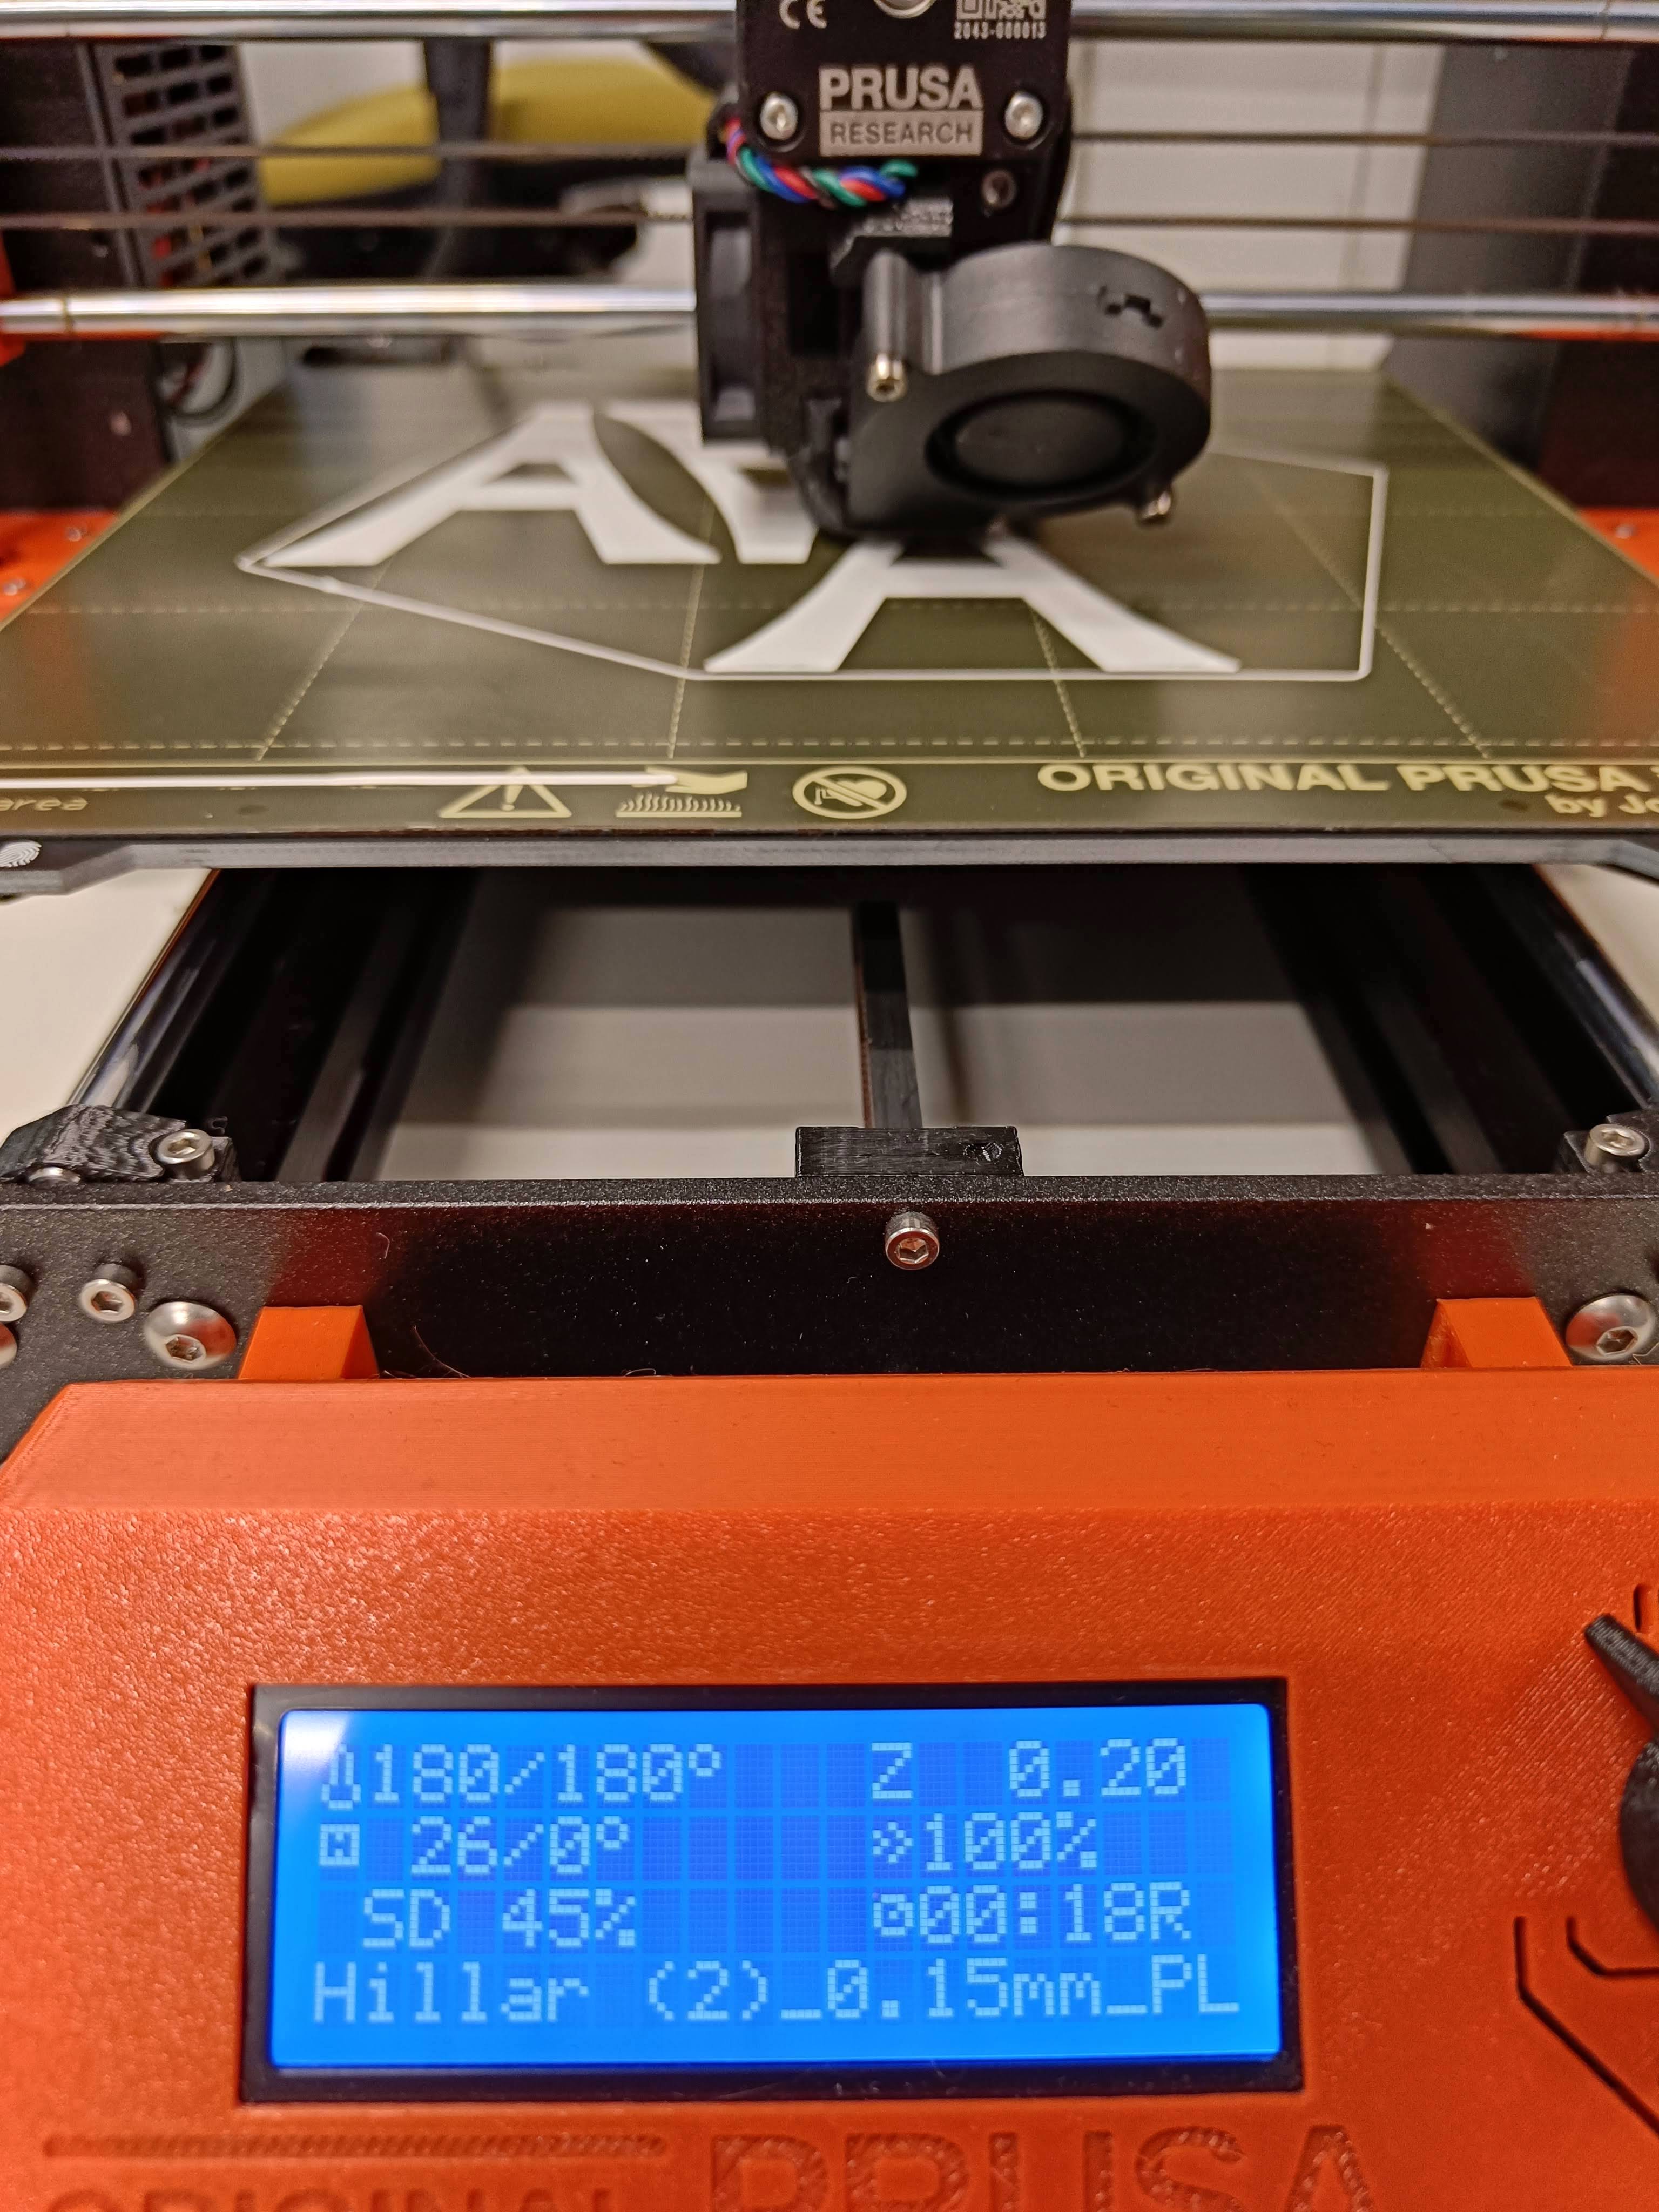
It's printing time, and... I pivoted. After seeing the first results of printing with PHA, I immediately understood that my structure wouldn't have been able to resist the stress I was going to put on it.
I started thinking about something that was kind of self-sustained and easy enough to print, in order for me to try out the printing pipeline for the first time.
I ended up drawing a stylized version of the Tour Eiffel, with some small holes and a curved connector to interlink the different faces of the structure.
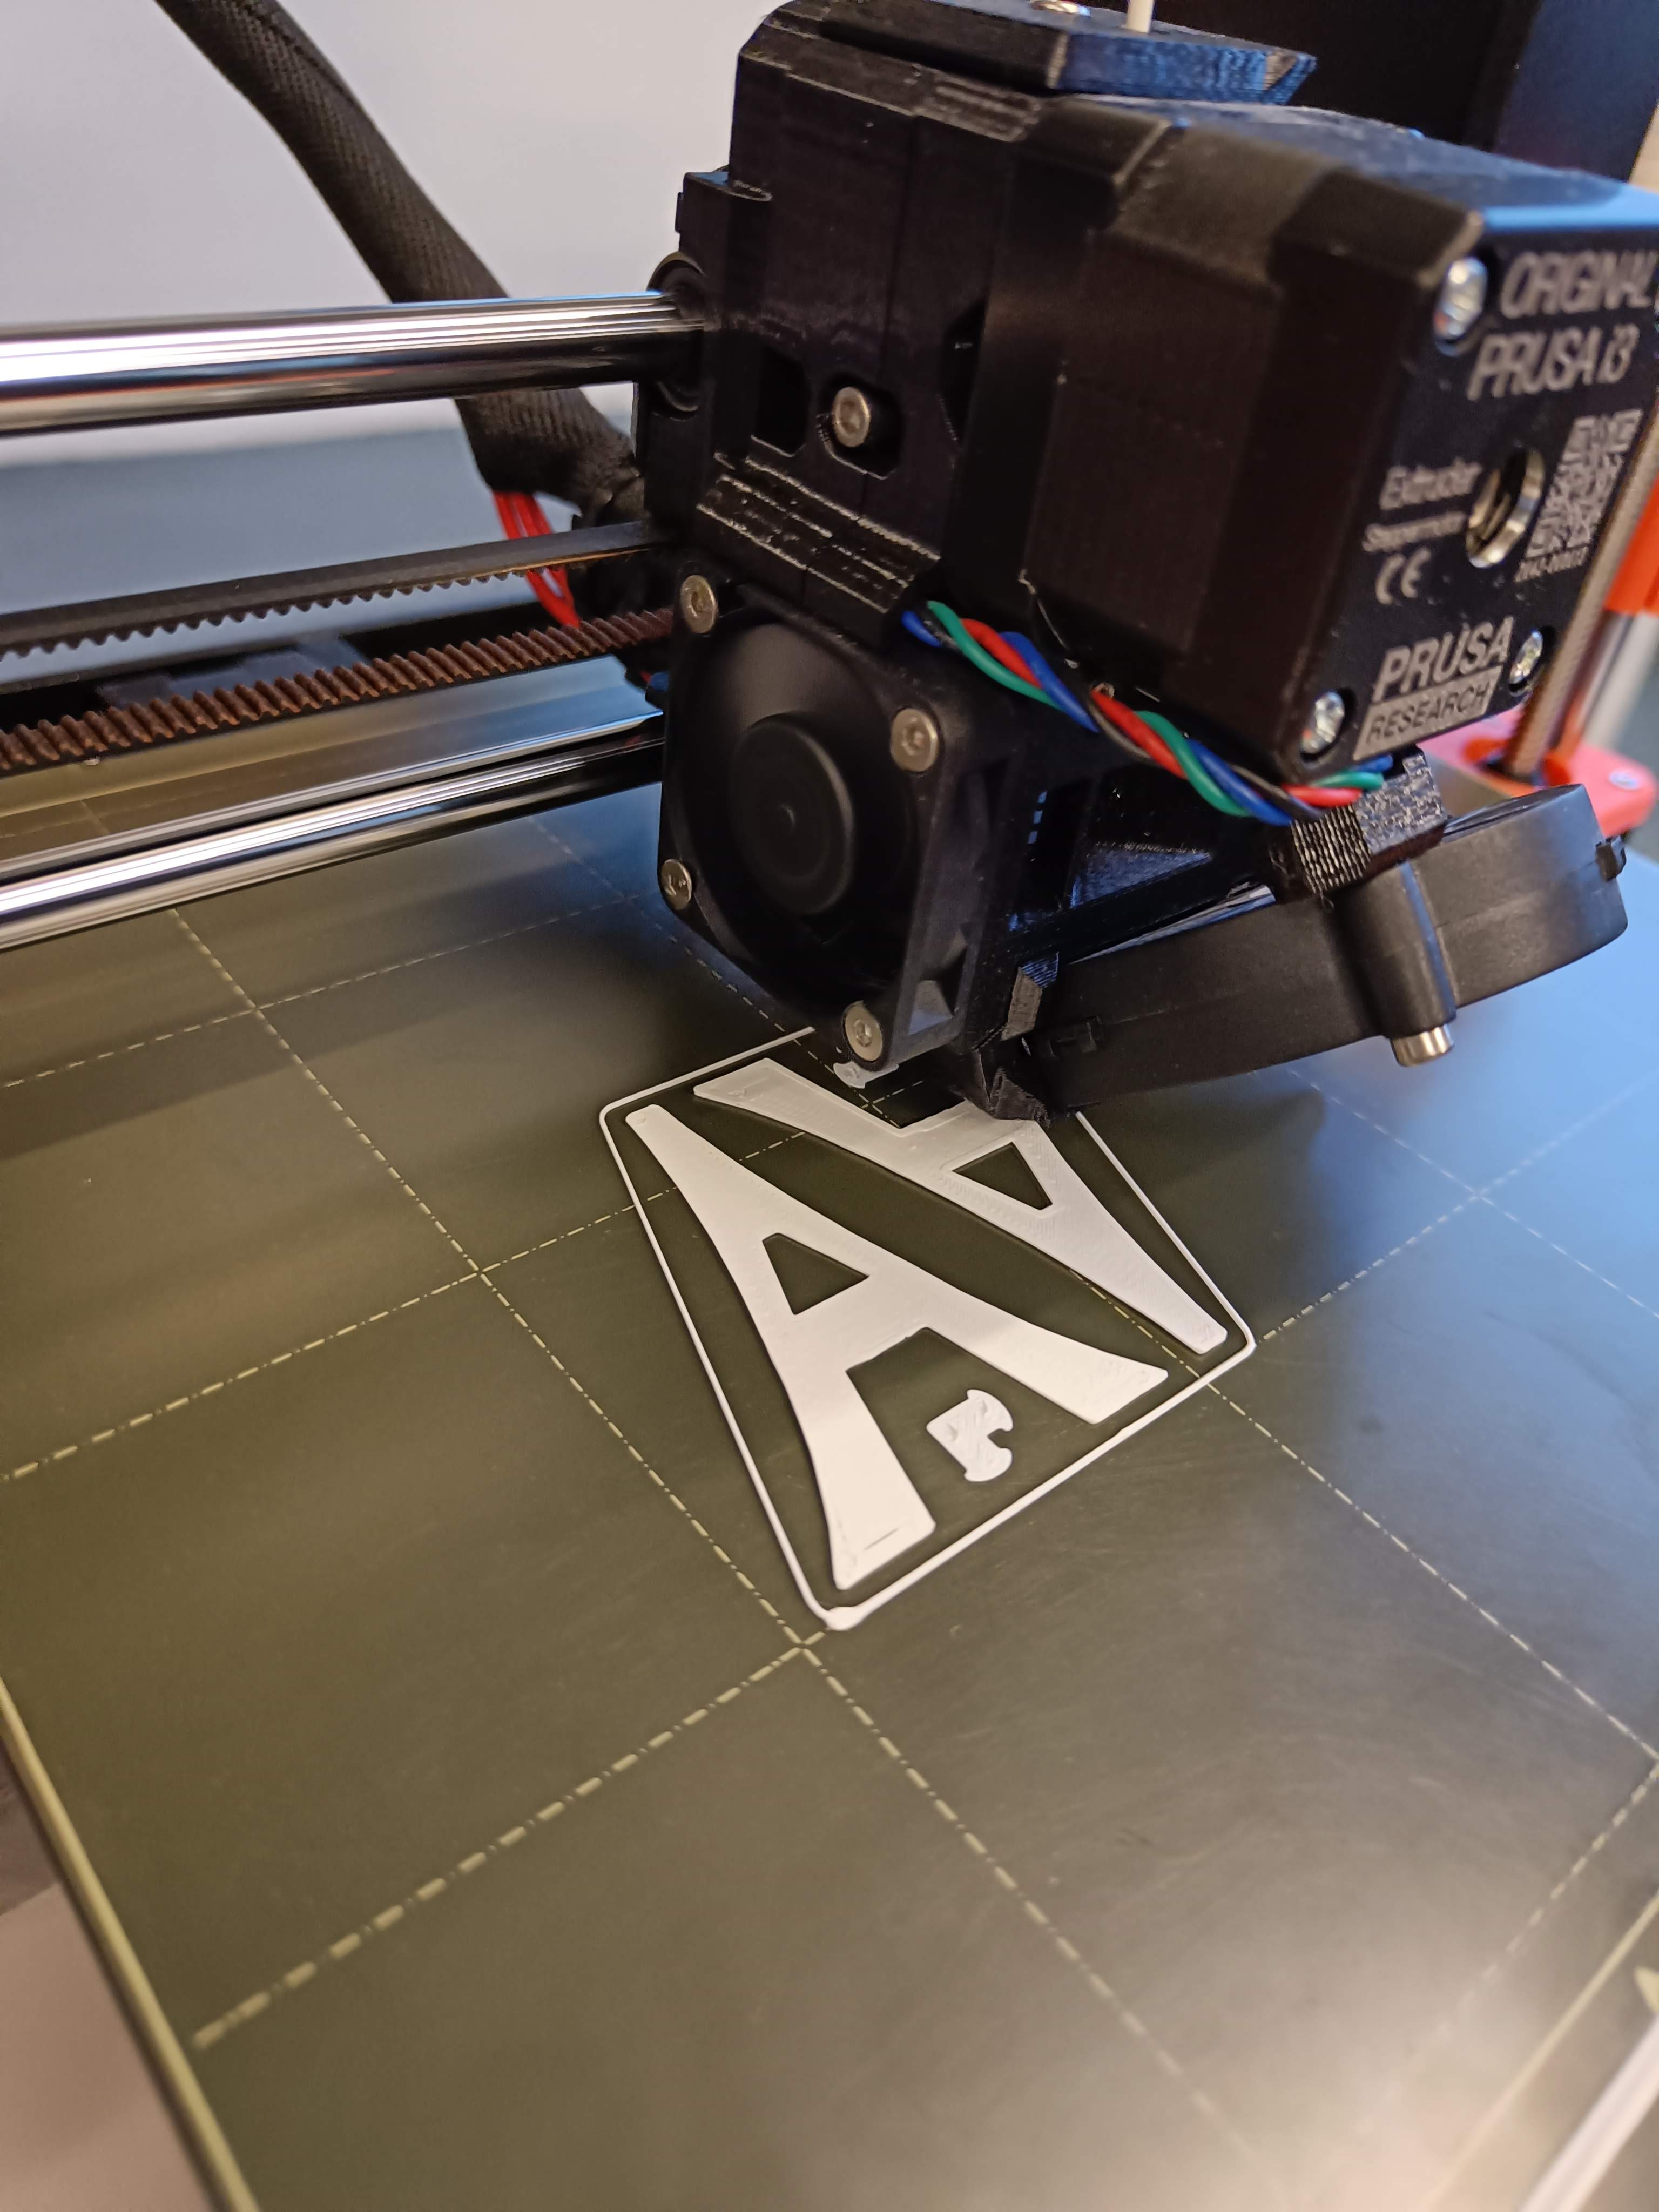
The print thickness was set to 1mm, the height of the tower was about 6cm and the holes' size was definitely too small (I thought I had set 0.4mm for their height, but it turned out to be 0.2mm. I still have to come to terms with CAD software).
I only printed 2 faces and one connector, just to see how it would look. It turned out to be better than expected!
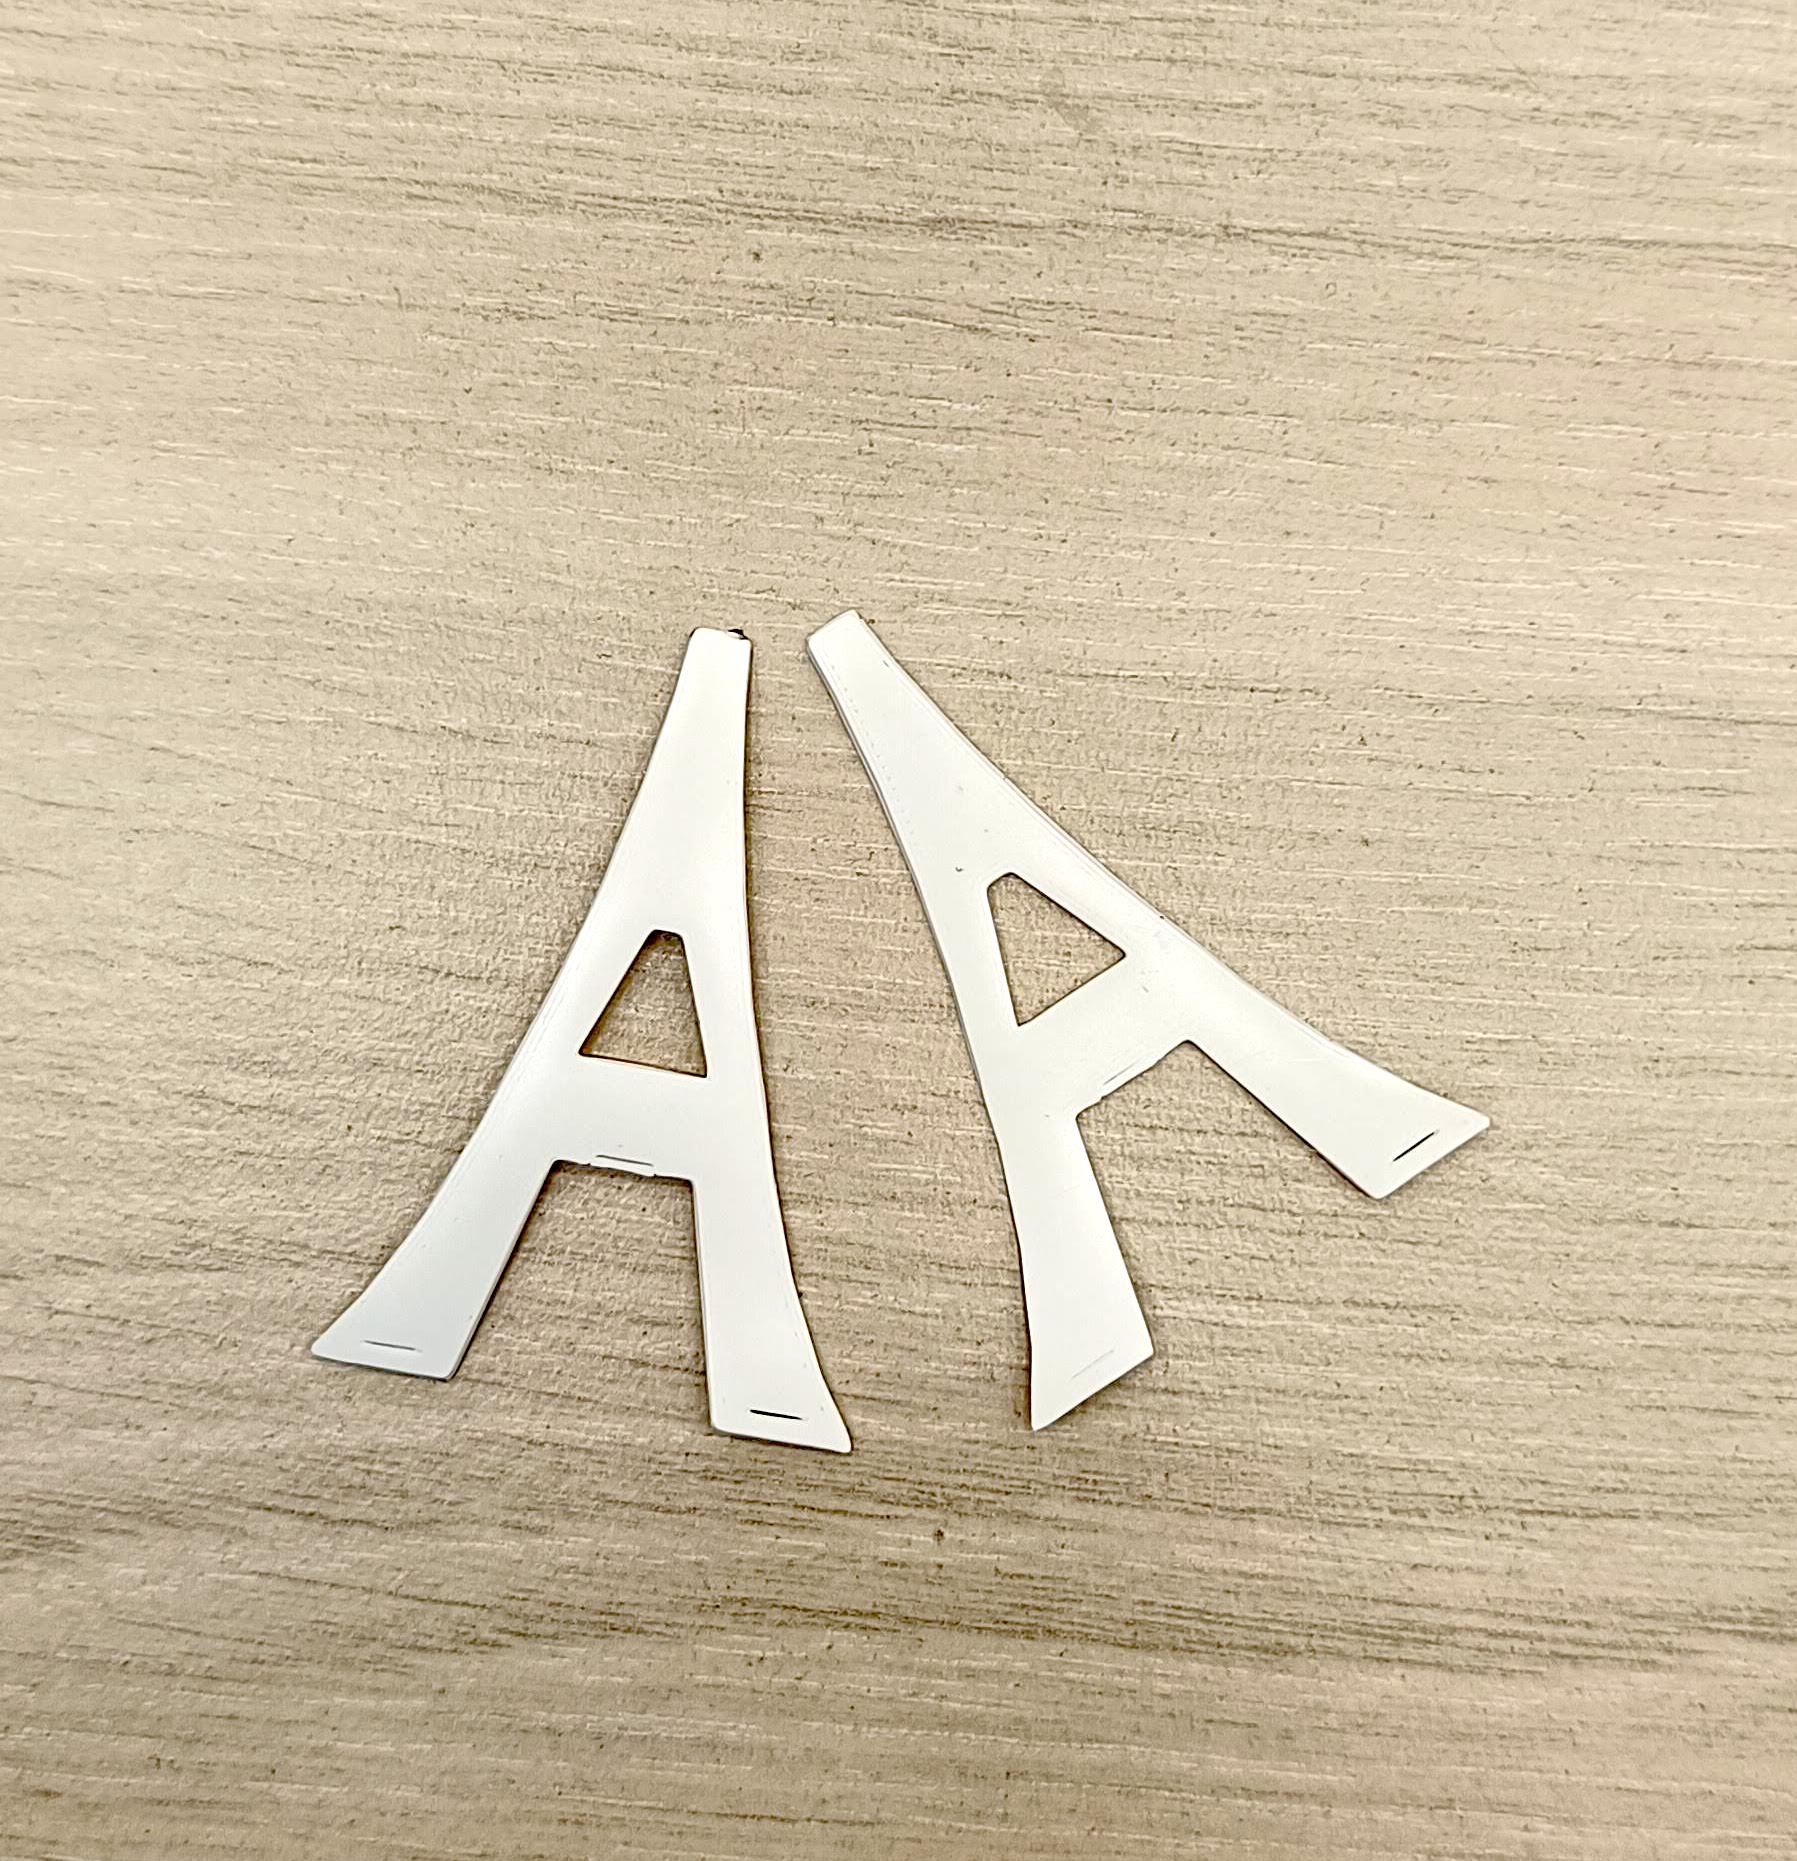
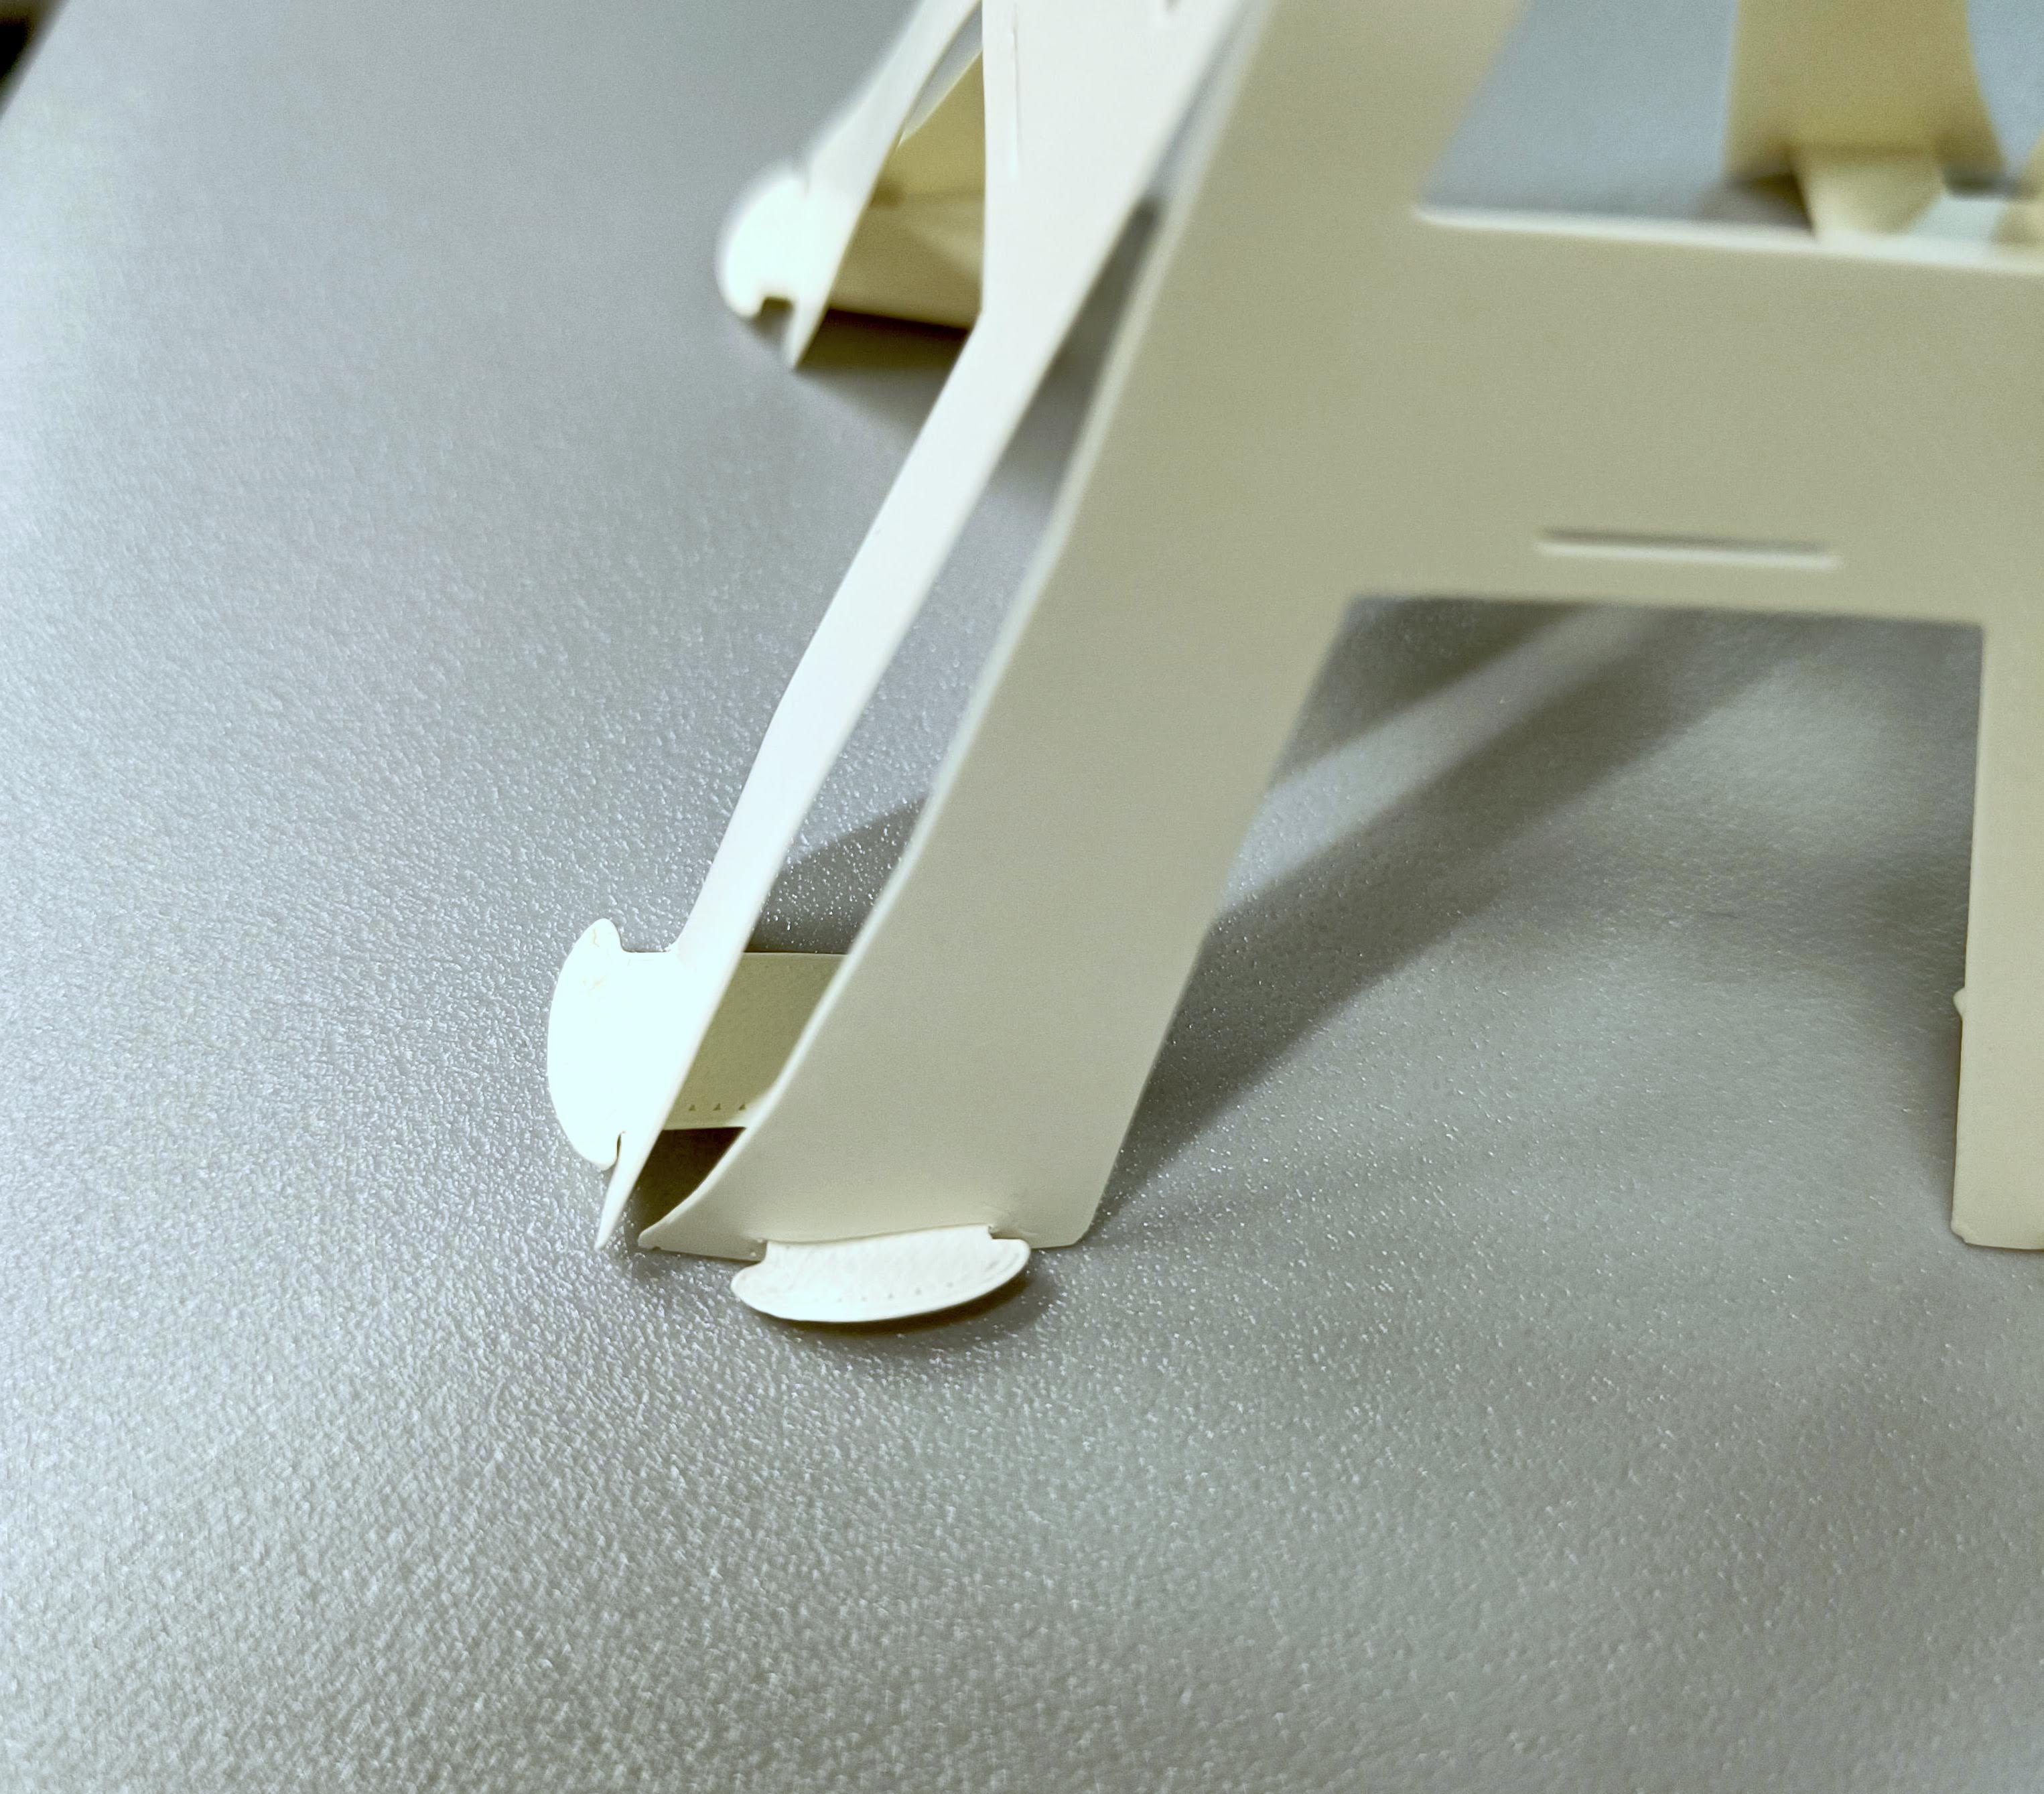
For my second try, I decided to keep the same shape but to enlarge to a height of 10cm. This let me also enlarge the holes to be 0.4x10mm. I thus changed also the connector's dimensions to a max width of 13mm and a thickness of 0.3mm so that they would easily fit into the holes.
As you can see from the picture, I was so confident about the result that I decided to print 4 faces with 4 connectors, to see the full structure.
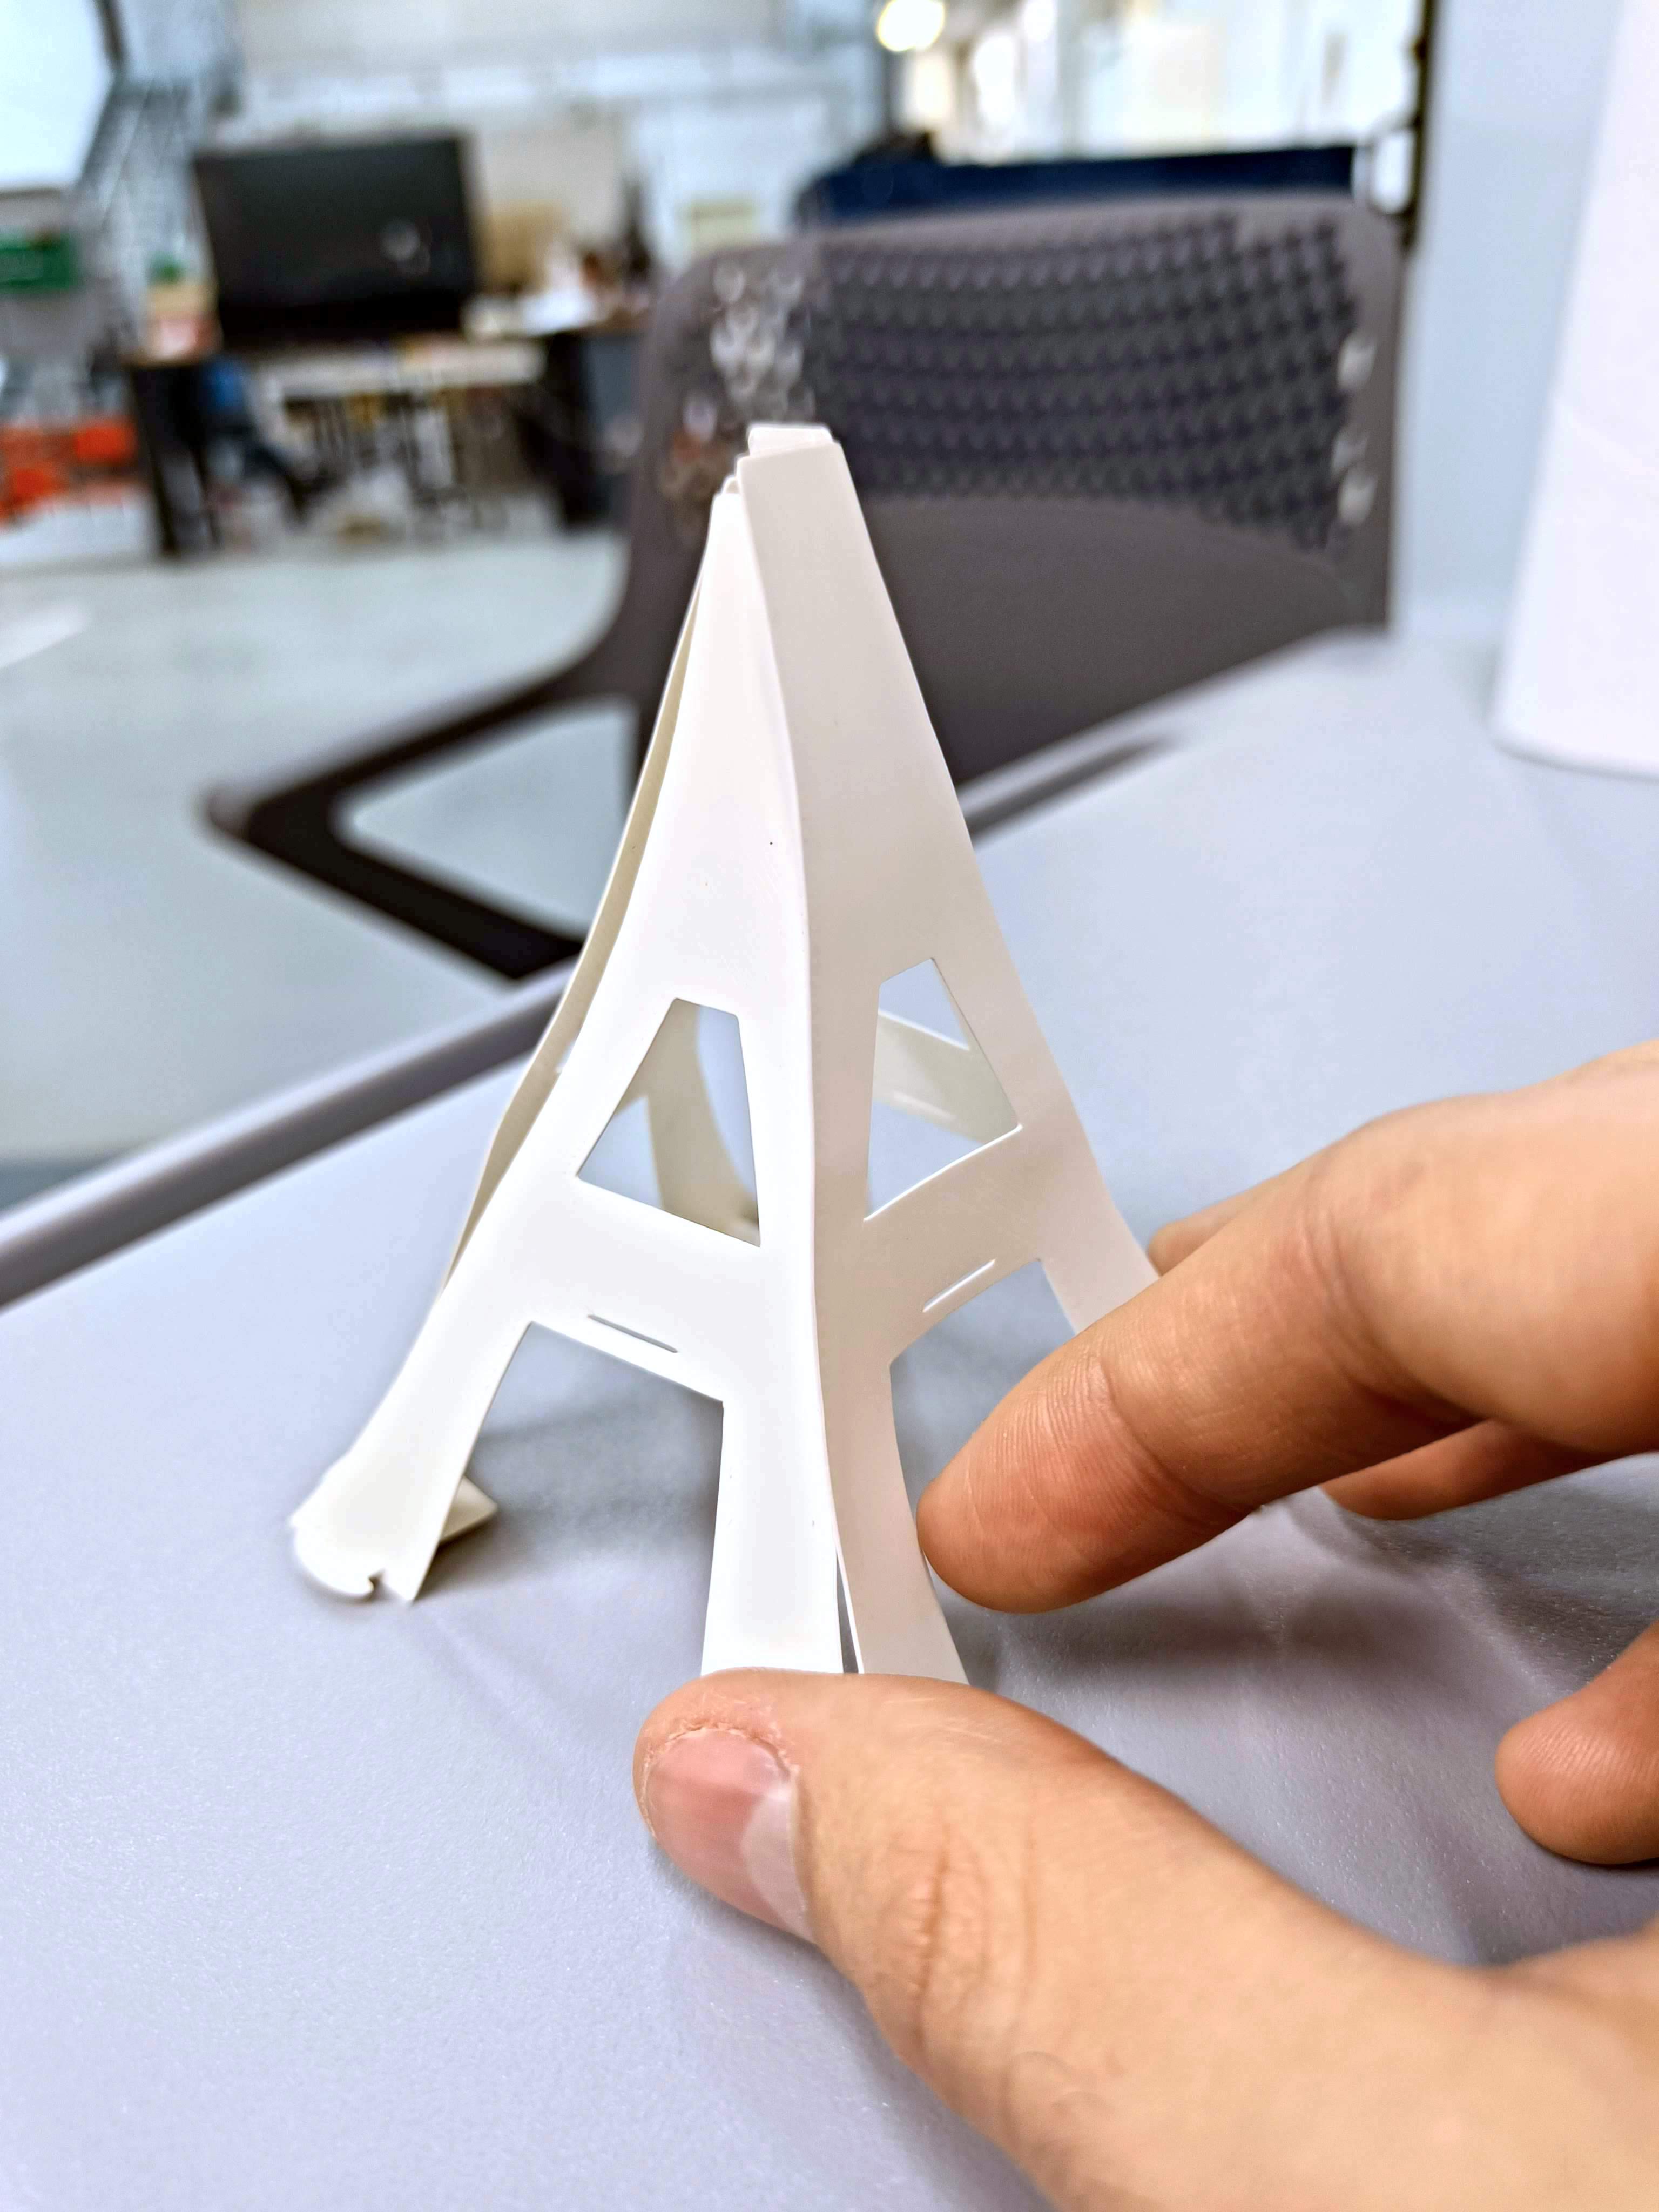
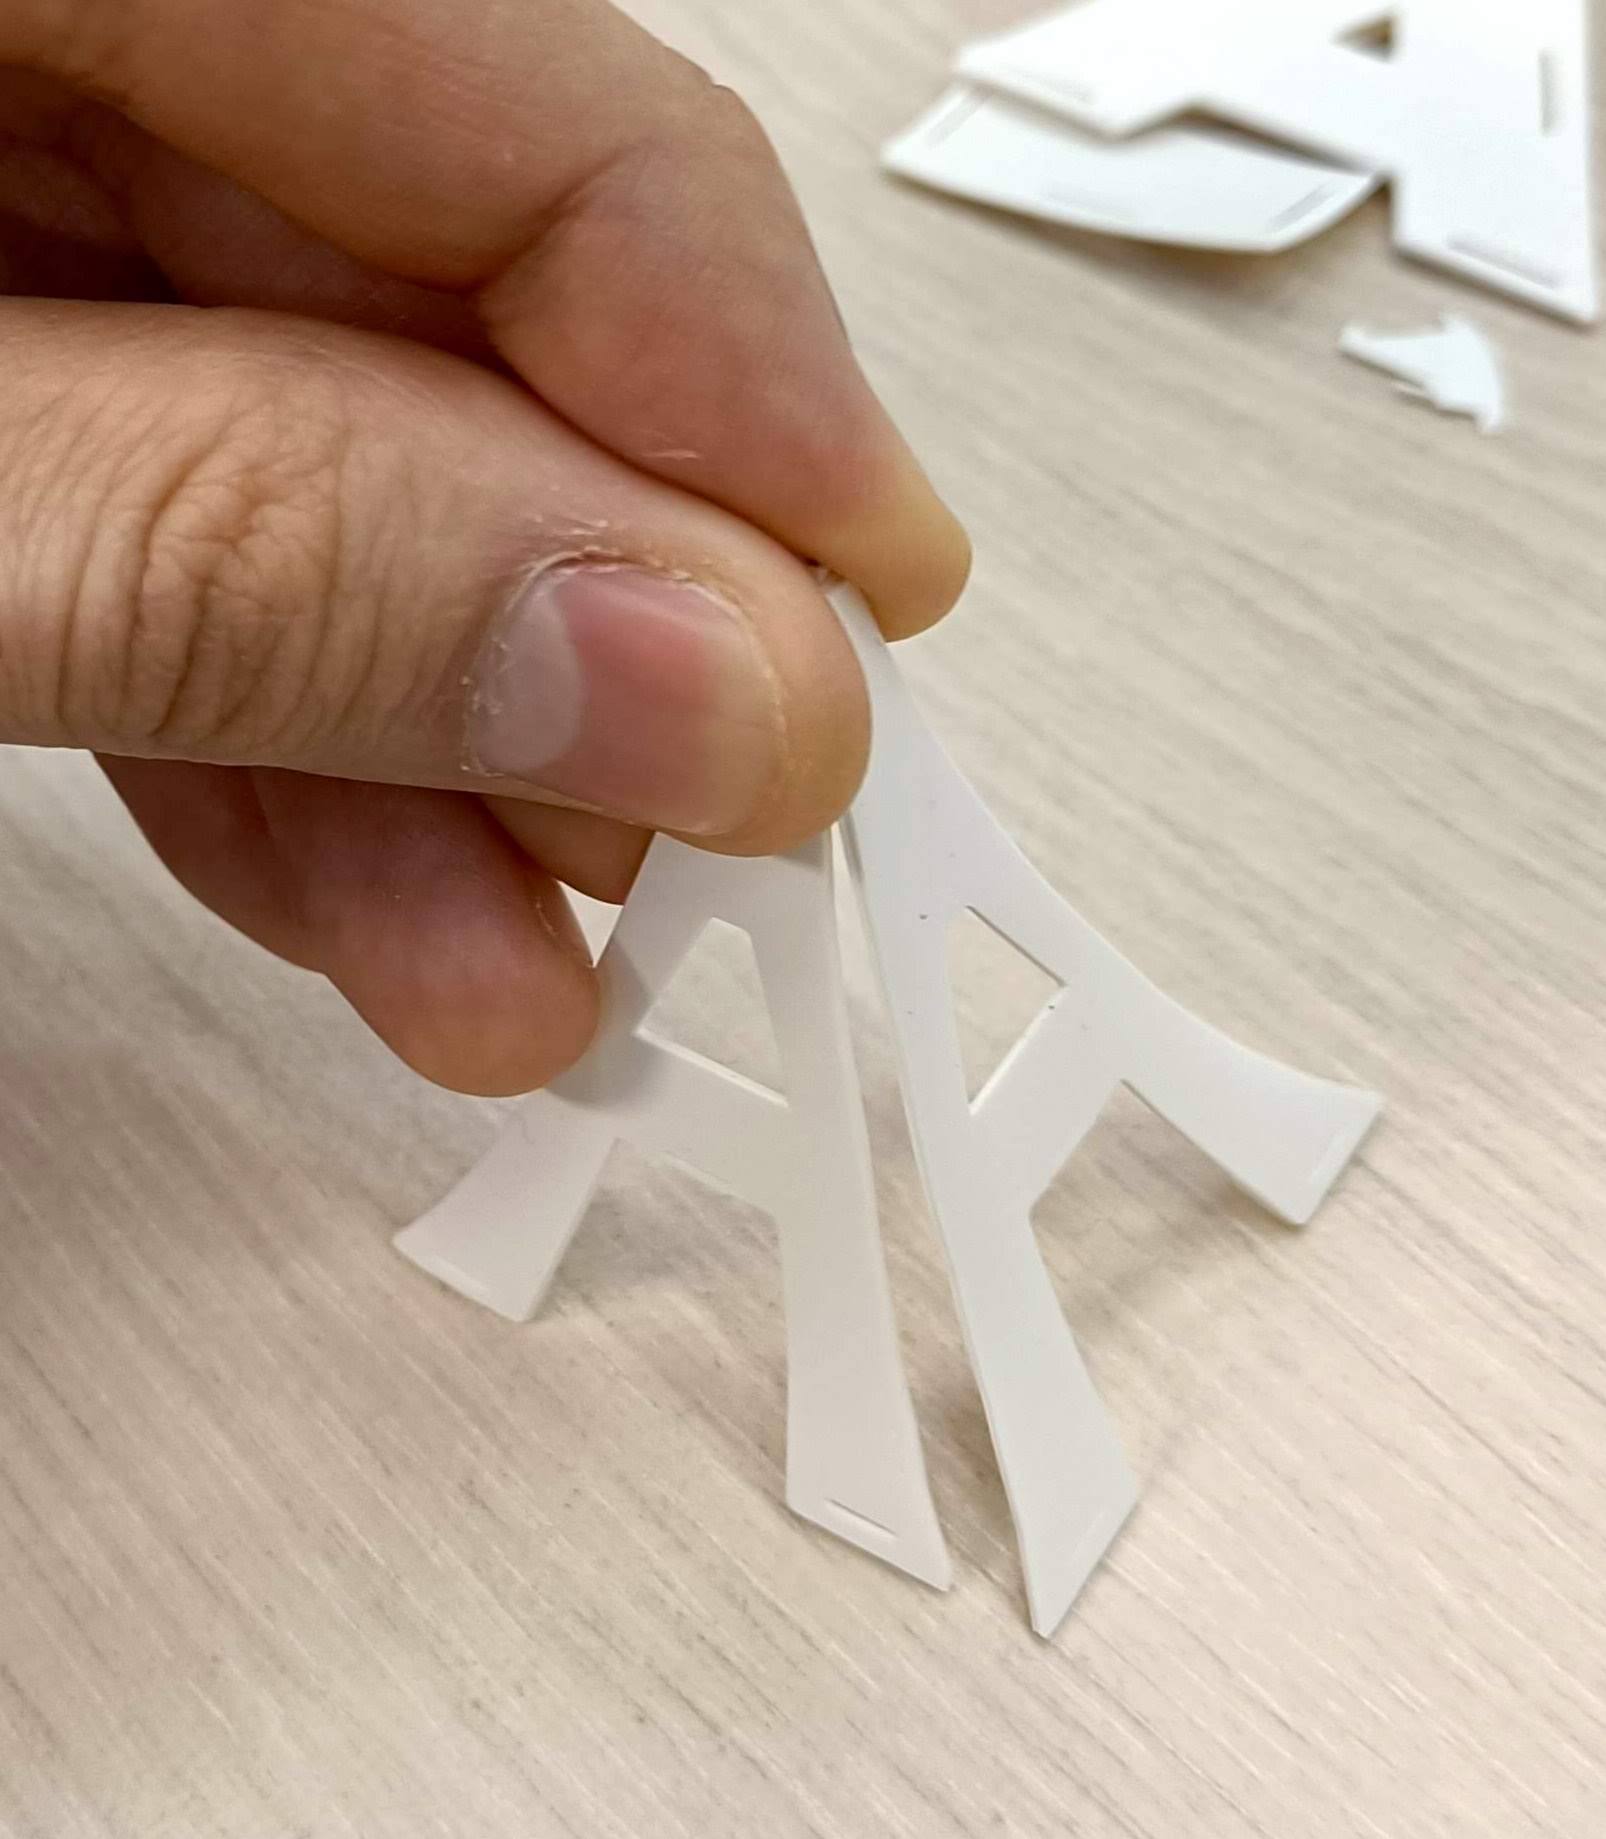
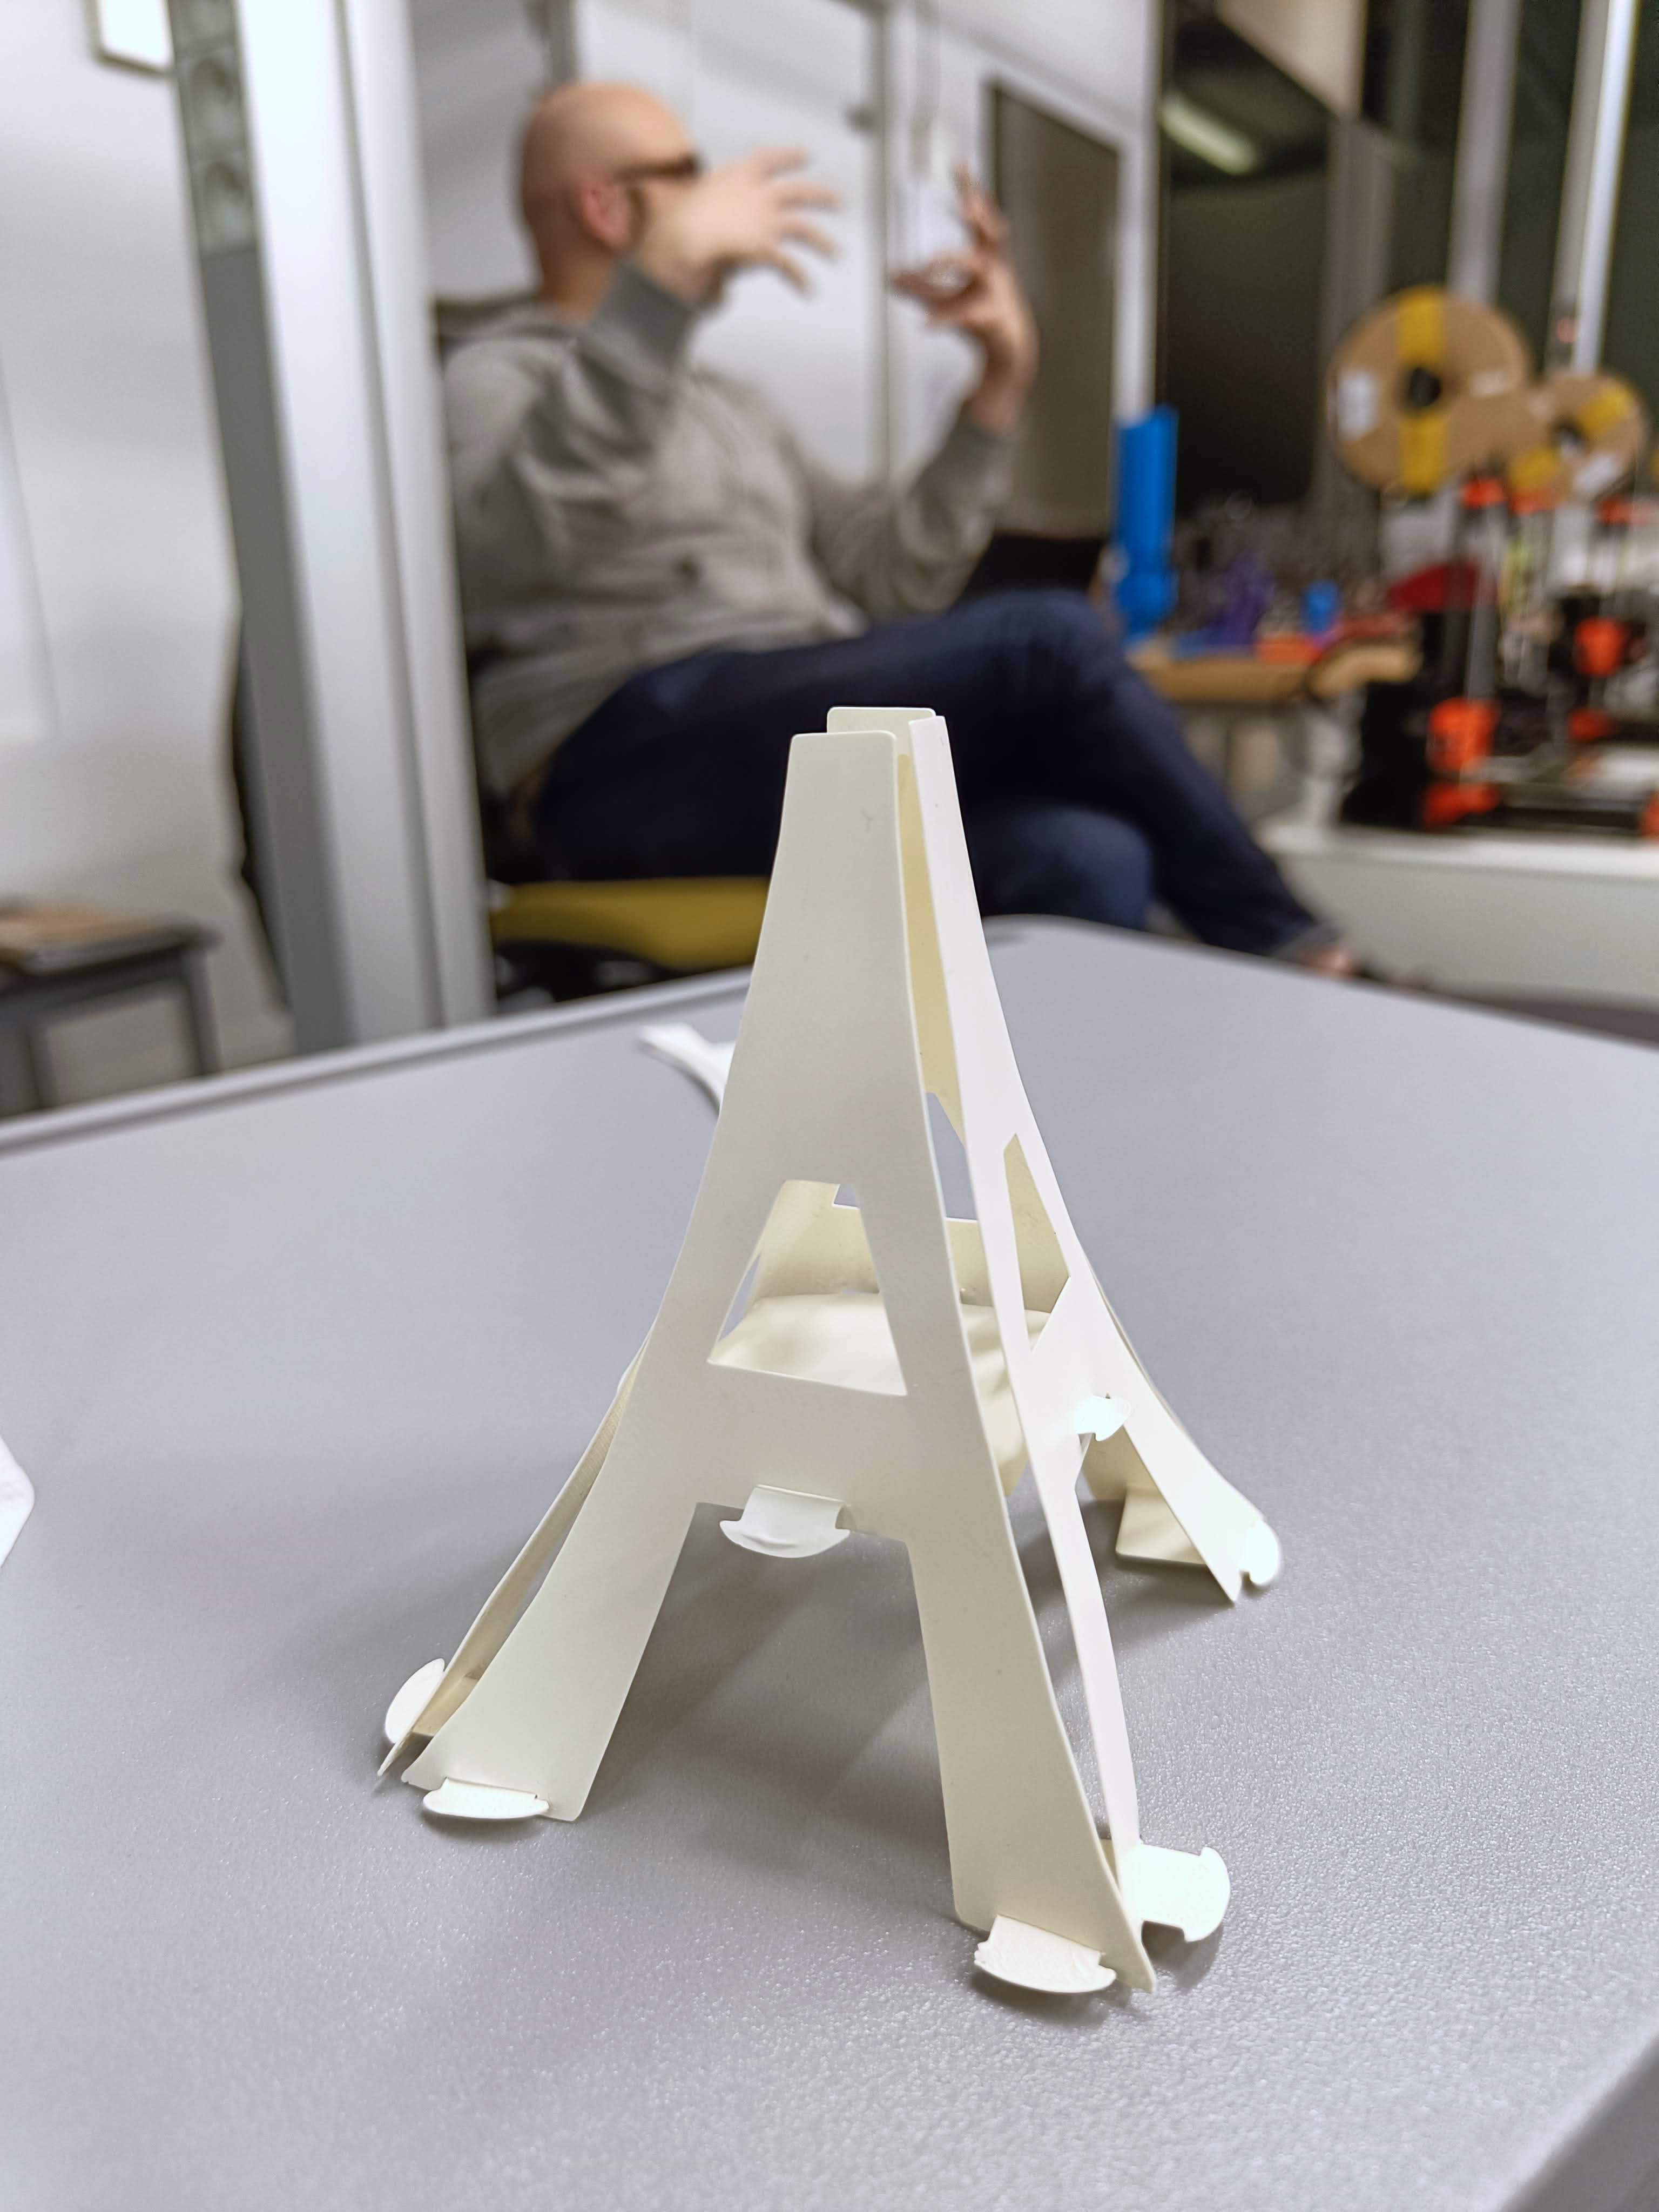
It worked! I was super surprised about the connectors finally interlocking with the faces, and holding the structure with my fingers made it look like kind of a real representation of a small Tour Eiffel.
It was already past class time, but I wanted to still improve the structure of my creation with a new connector and my friends were still hanging around in the FabLab, so why not. I already had printed the faces of the tower with holes also in its middle part, where the real Tour Eiffel has the first floor. I already knew what kind of shape I needed, so I decided to design it and print it super quickly. I copied part of the connectors I had previously printed and I made it only one layer 0.2mm thick. That way it only took 4 minutes to print.
I was able to insert the connector, and I was satisfied by the result. Some improvements could be done, though. To design the connector, I measured the width of the tower face with a ruler, and it was about 4cm wide, so I decided to make the connector's square 3.8cm wide, with the small interlocking parts being 5mm distant from it. The distance turned out to be oversized, while the square could have big slightly larger.

Finally, I was kind of challenged by Romain to defold my Eiffel Tower to see if the structure and the interlinks would resist the stress (also, I needed a way to bring it home), so I decided to do it, and I was pretty satisfied by the result.