Week 3
Before the class
This week is all about thinking how the heck can I use 1m^2 worth of PHA for my project.
I have many ideas in mind, but, as of right now, none of them really satisfy me. What I think would be really cool to realize some kind of bas-relief, making use of the fact that I am only using 0.3mm out of the 1mm thickness I can actually use. I think that the effect would look really nice, but I still don't use what to use it for. My initial idea was to draw the beams that make up the real Eiffel Tower, so that the printed structure would look more realistic. The problem is that this wouldn't really help me to achieve a higher printable surface, and it could turn out to be very ugly if I don't manage to get the beams right.
Another idea I have is to focus on new structures instead, for example other famous buildings. The problem with this is that I would like to improve my Eiffel Tower first and I don't know if printing separate objects would count towards my 1m^2 goal or if I should focus on one single object that makes use of the whole surface. Every week I realize more and more how the constraints are tough and how they channel my brain into thinking of hacks to get all of them right.
Class
Last attempt on Tour Eiffel
During class, I decided to give a try to the engraving the pipes of the Eiffel Tower on my project. Long story short, the idea was neat but the realization was too complicated and not modular at all.
The figure was printed with a thickness of 0.3mm. On top of that, the pipes were another 0.3mm thick.
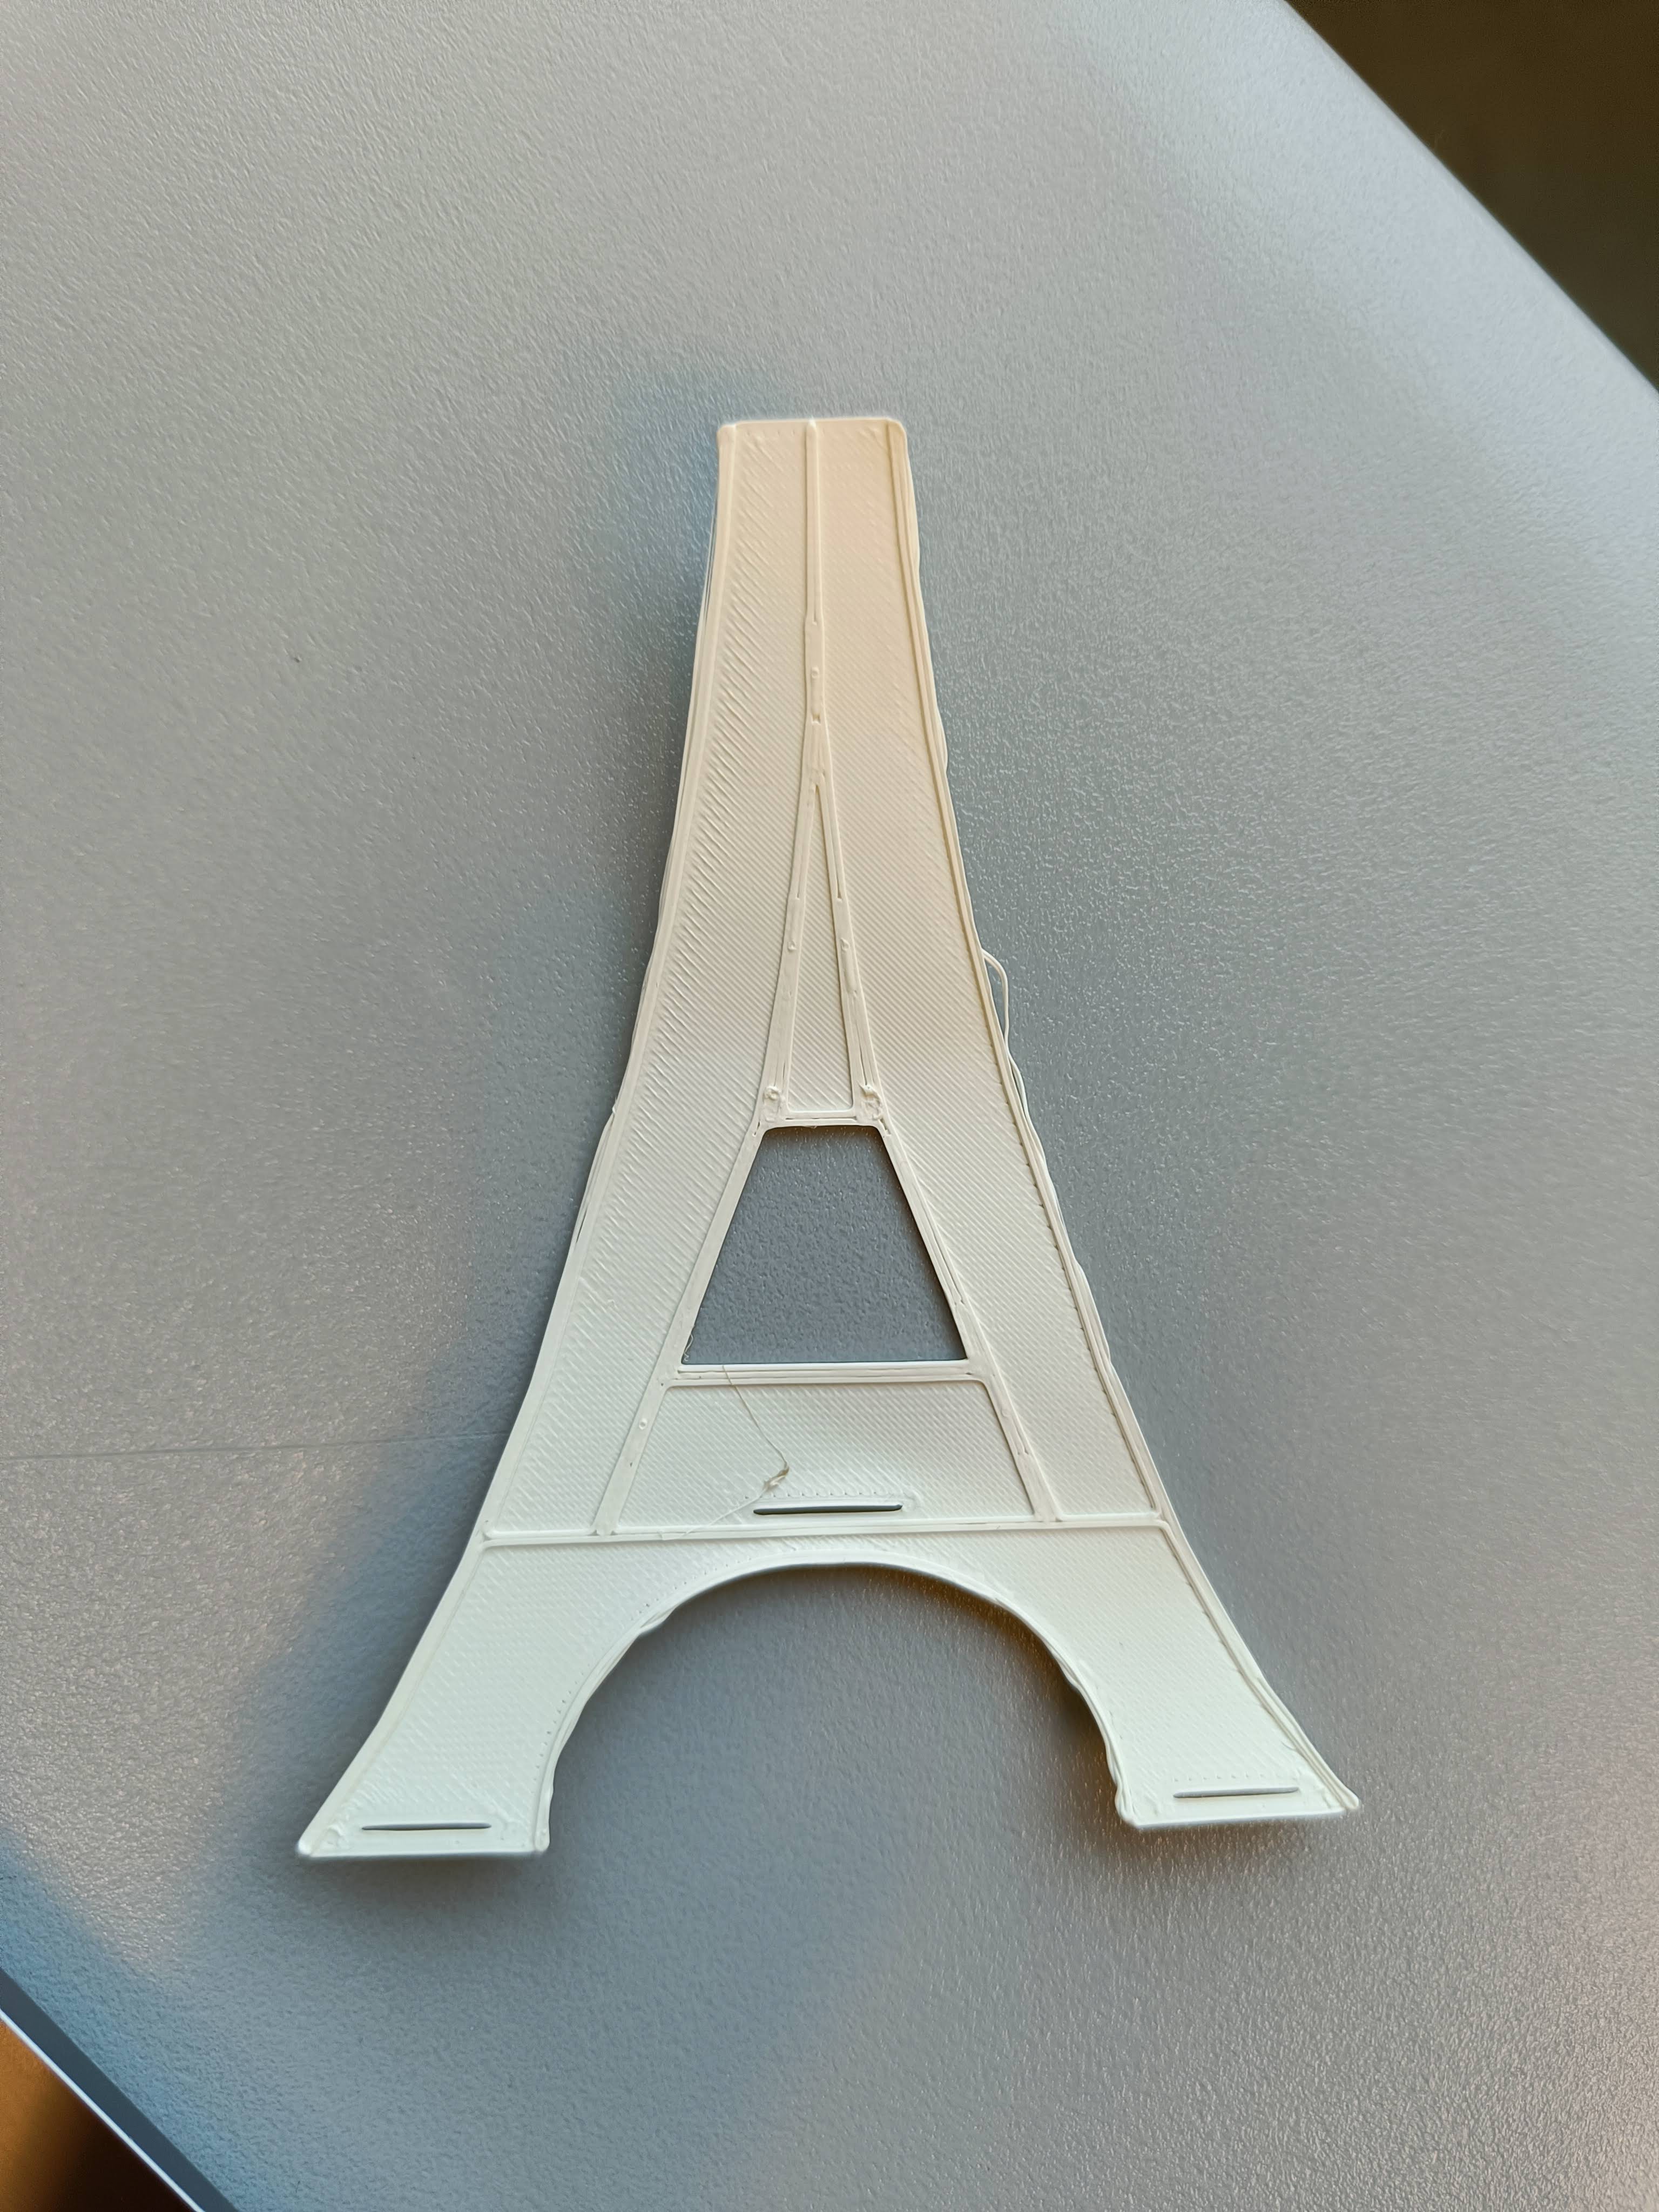
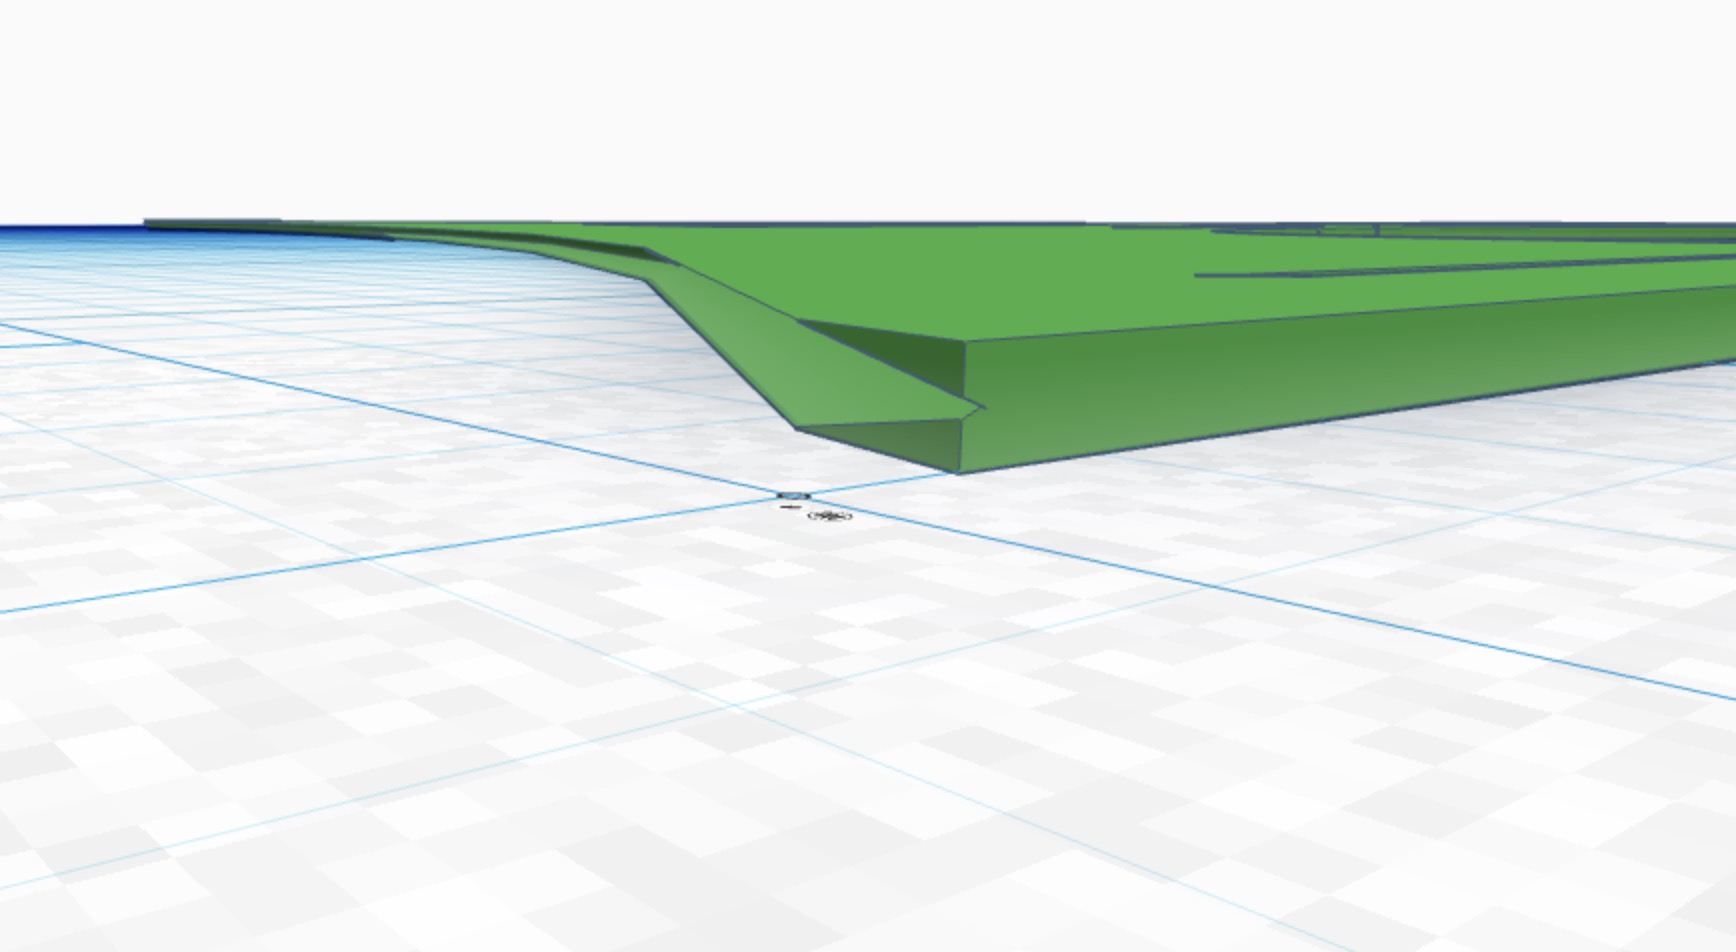
The print looked cool but the pipes (especially the ones on the border of the figure) had some problems. I initially thought it was a problem with the printer, but I soon realized that the problem was actually in the 3D design. Some pipes were out of the figure border by a fraction of millimeter and, most importantly, some edges that were the result of a cube that had been cut with a sphere were not straight, so the printer had troubles printing them without a support underneath.
Lesson learned: only use parallel shapes (such as cylinders and prisms) to cut other shapes.
A more modular object
After spending some (actually, many) minutes thinking about how to solve the issue and after talking with the professor, I finally decided to move on to something that would be easier to draw and more modular. I really liked the idea of making use of the 1mm thickness to engrave something on my figures, so I decided to reproduce it also on my new objects .
I used the same thickness as before (0.3mm + 0.3mm), where the additional 0.3mm was given not only to the engravings but also to the rings connectors, in order for them to resist more stress.
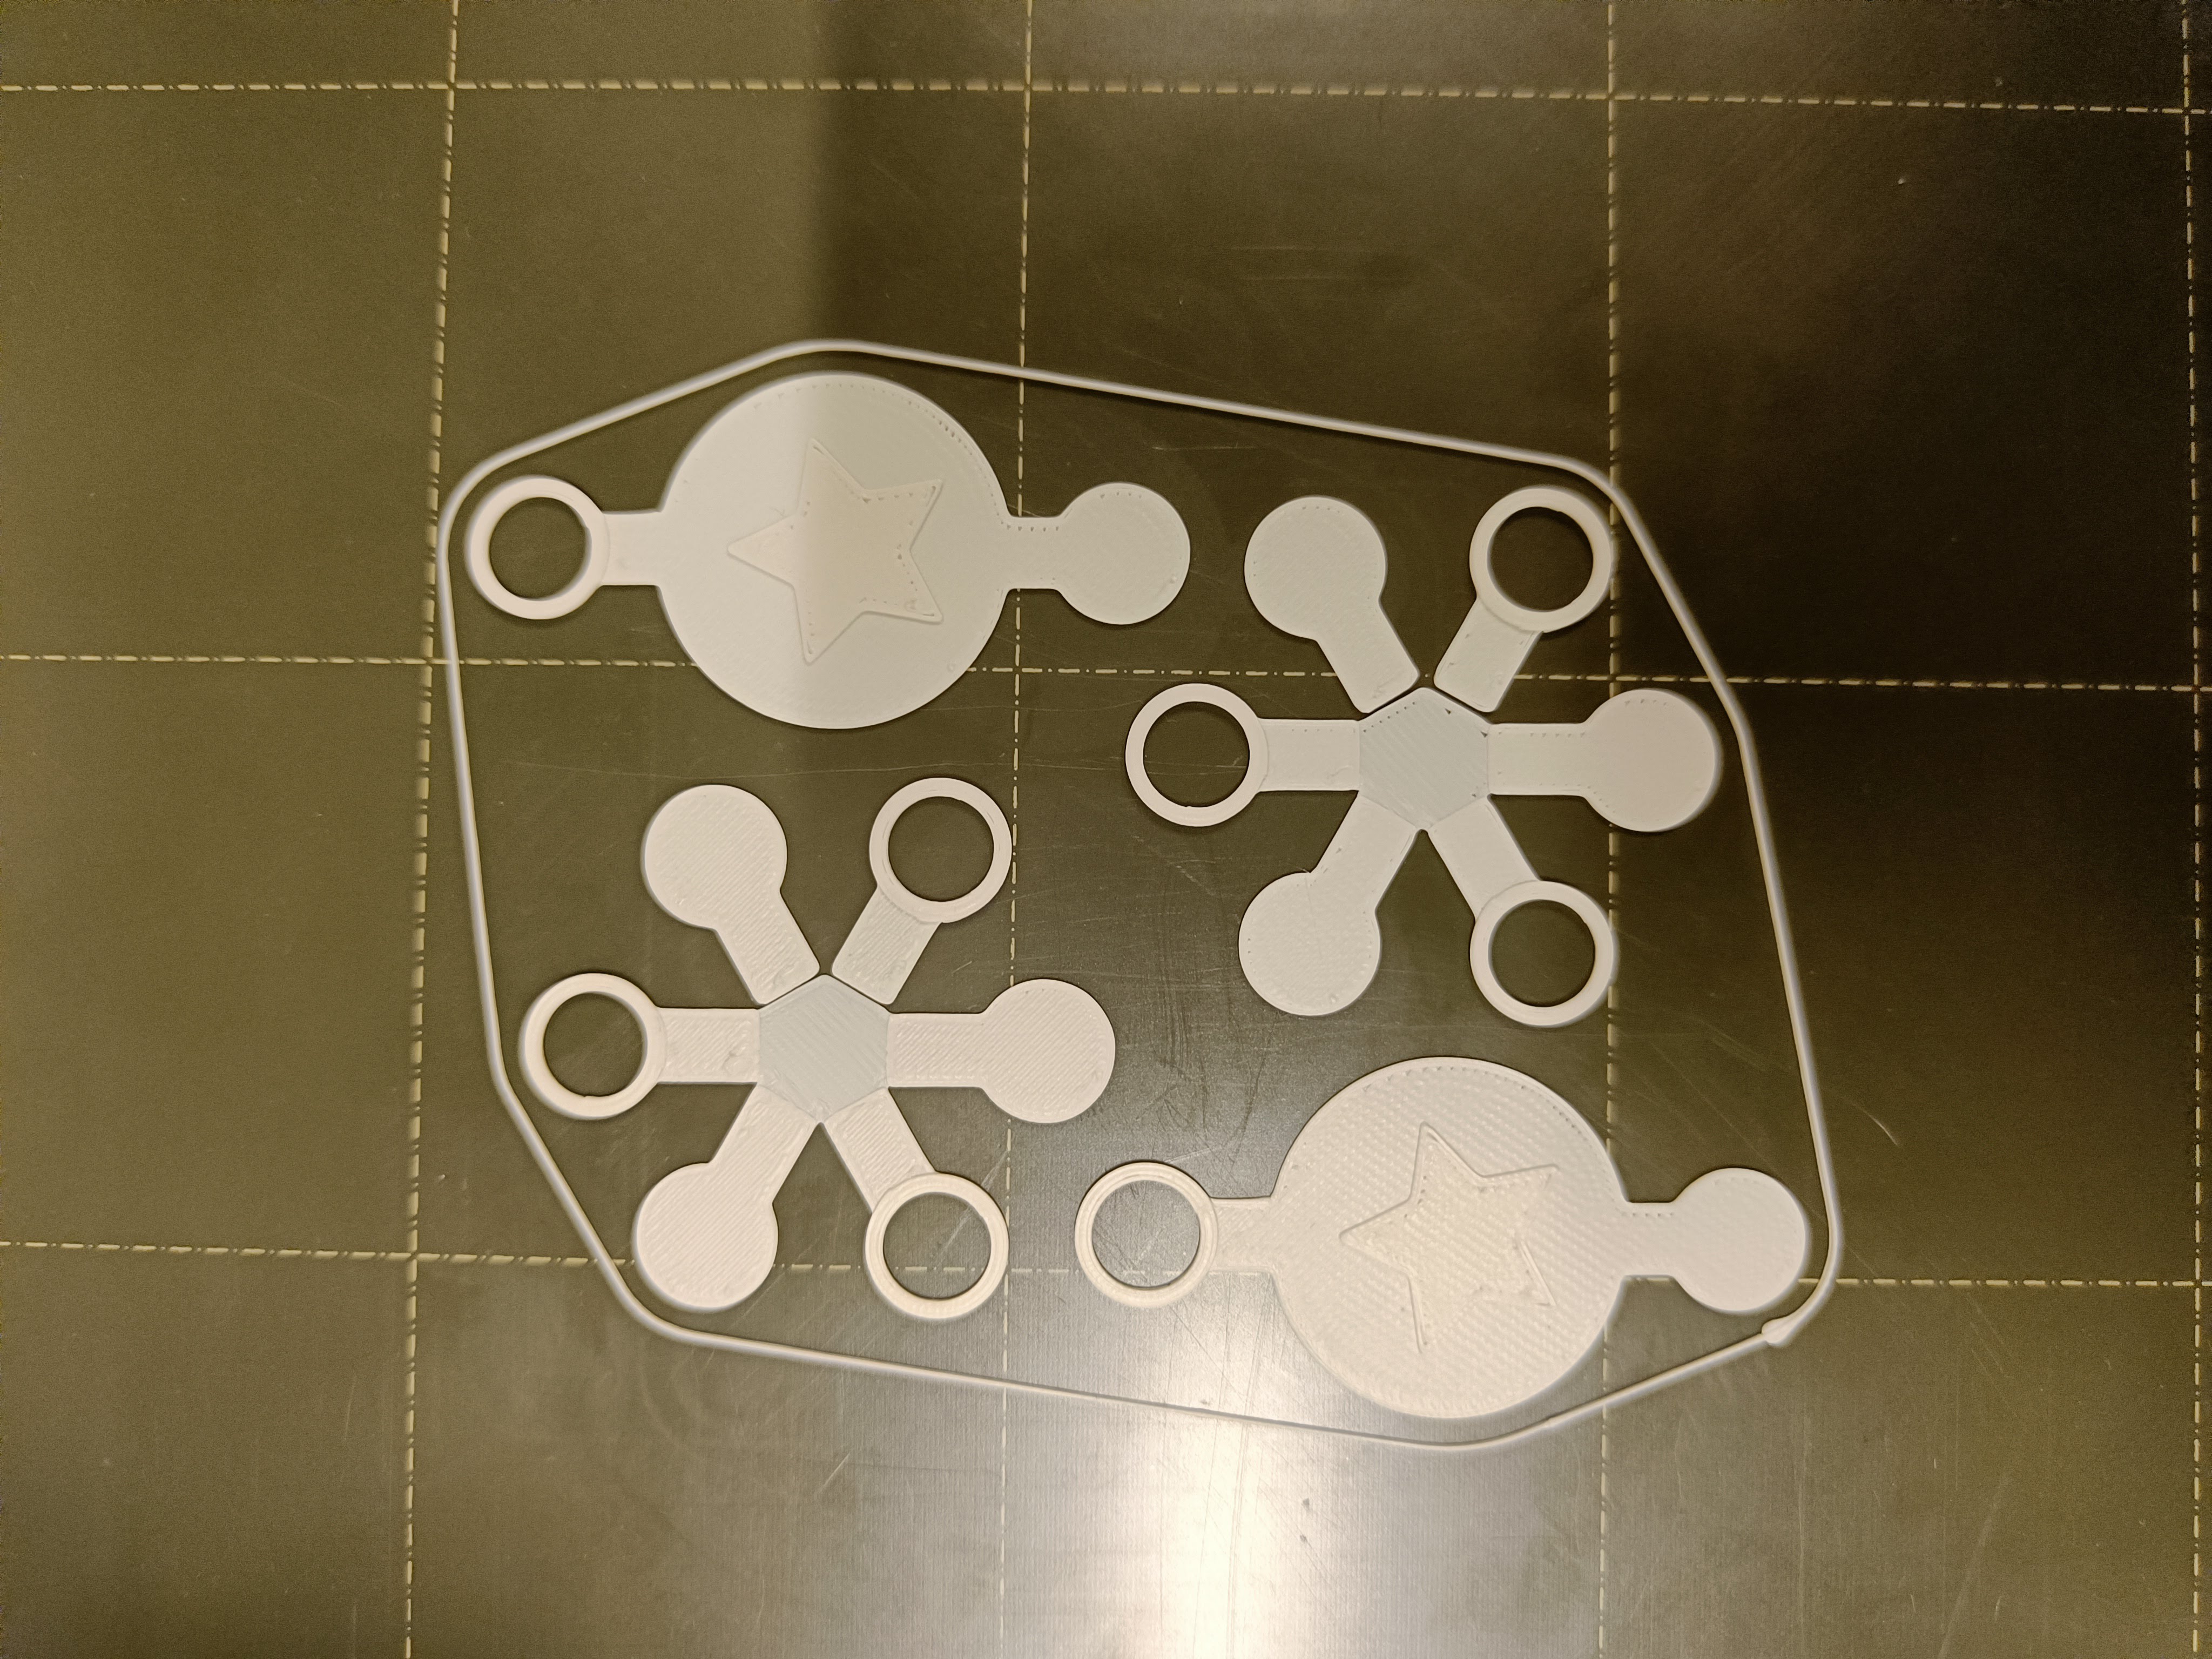
Unfortunately, I was too quick to generate the .stl file and didn't notice that some arms of the connector were not actually connected to the main
structure, so I ended up having to print them again.
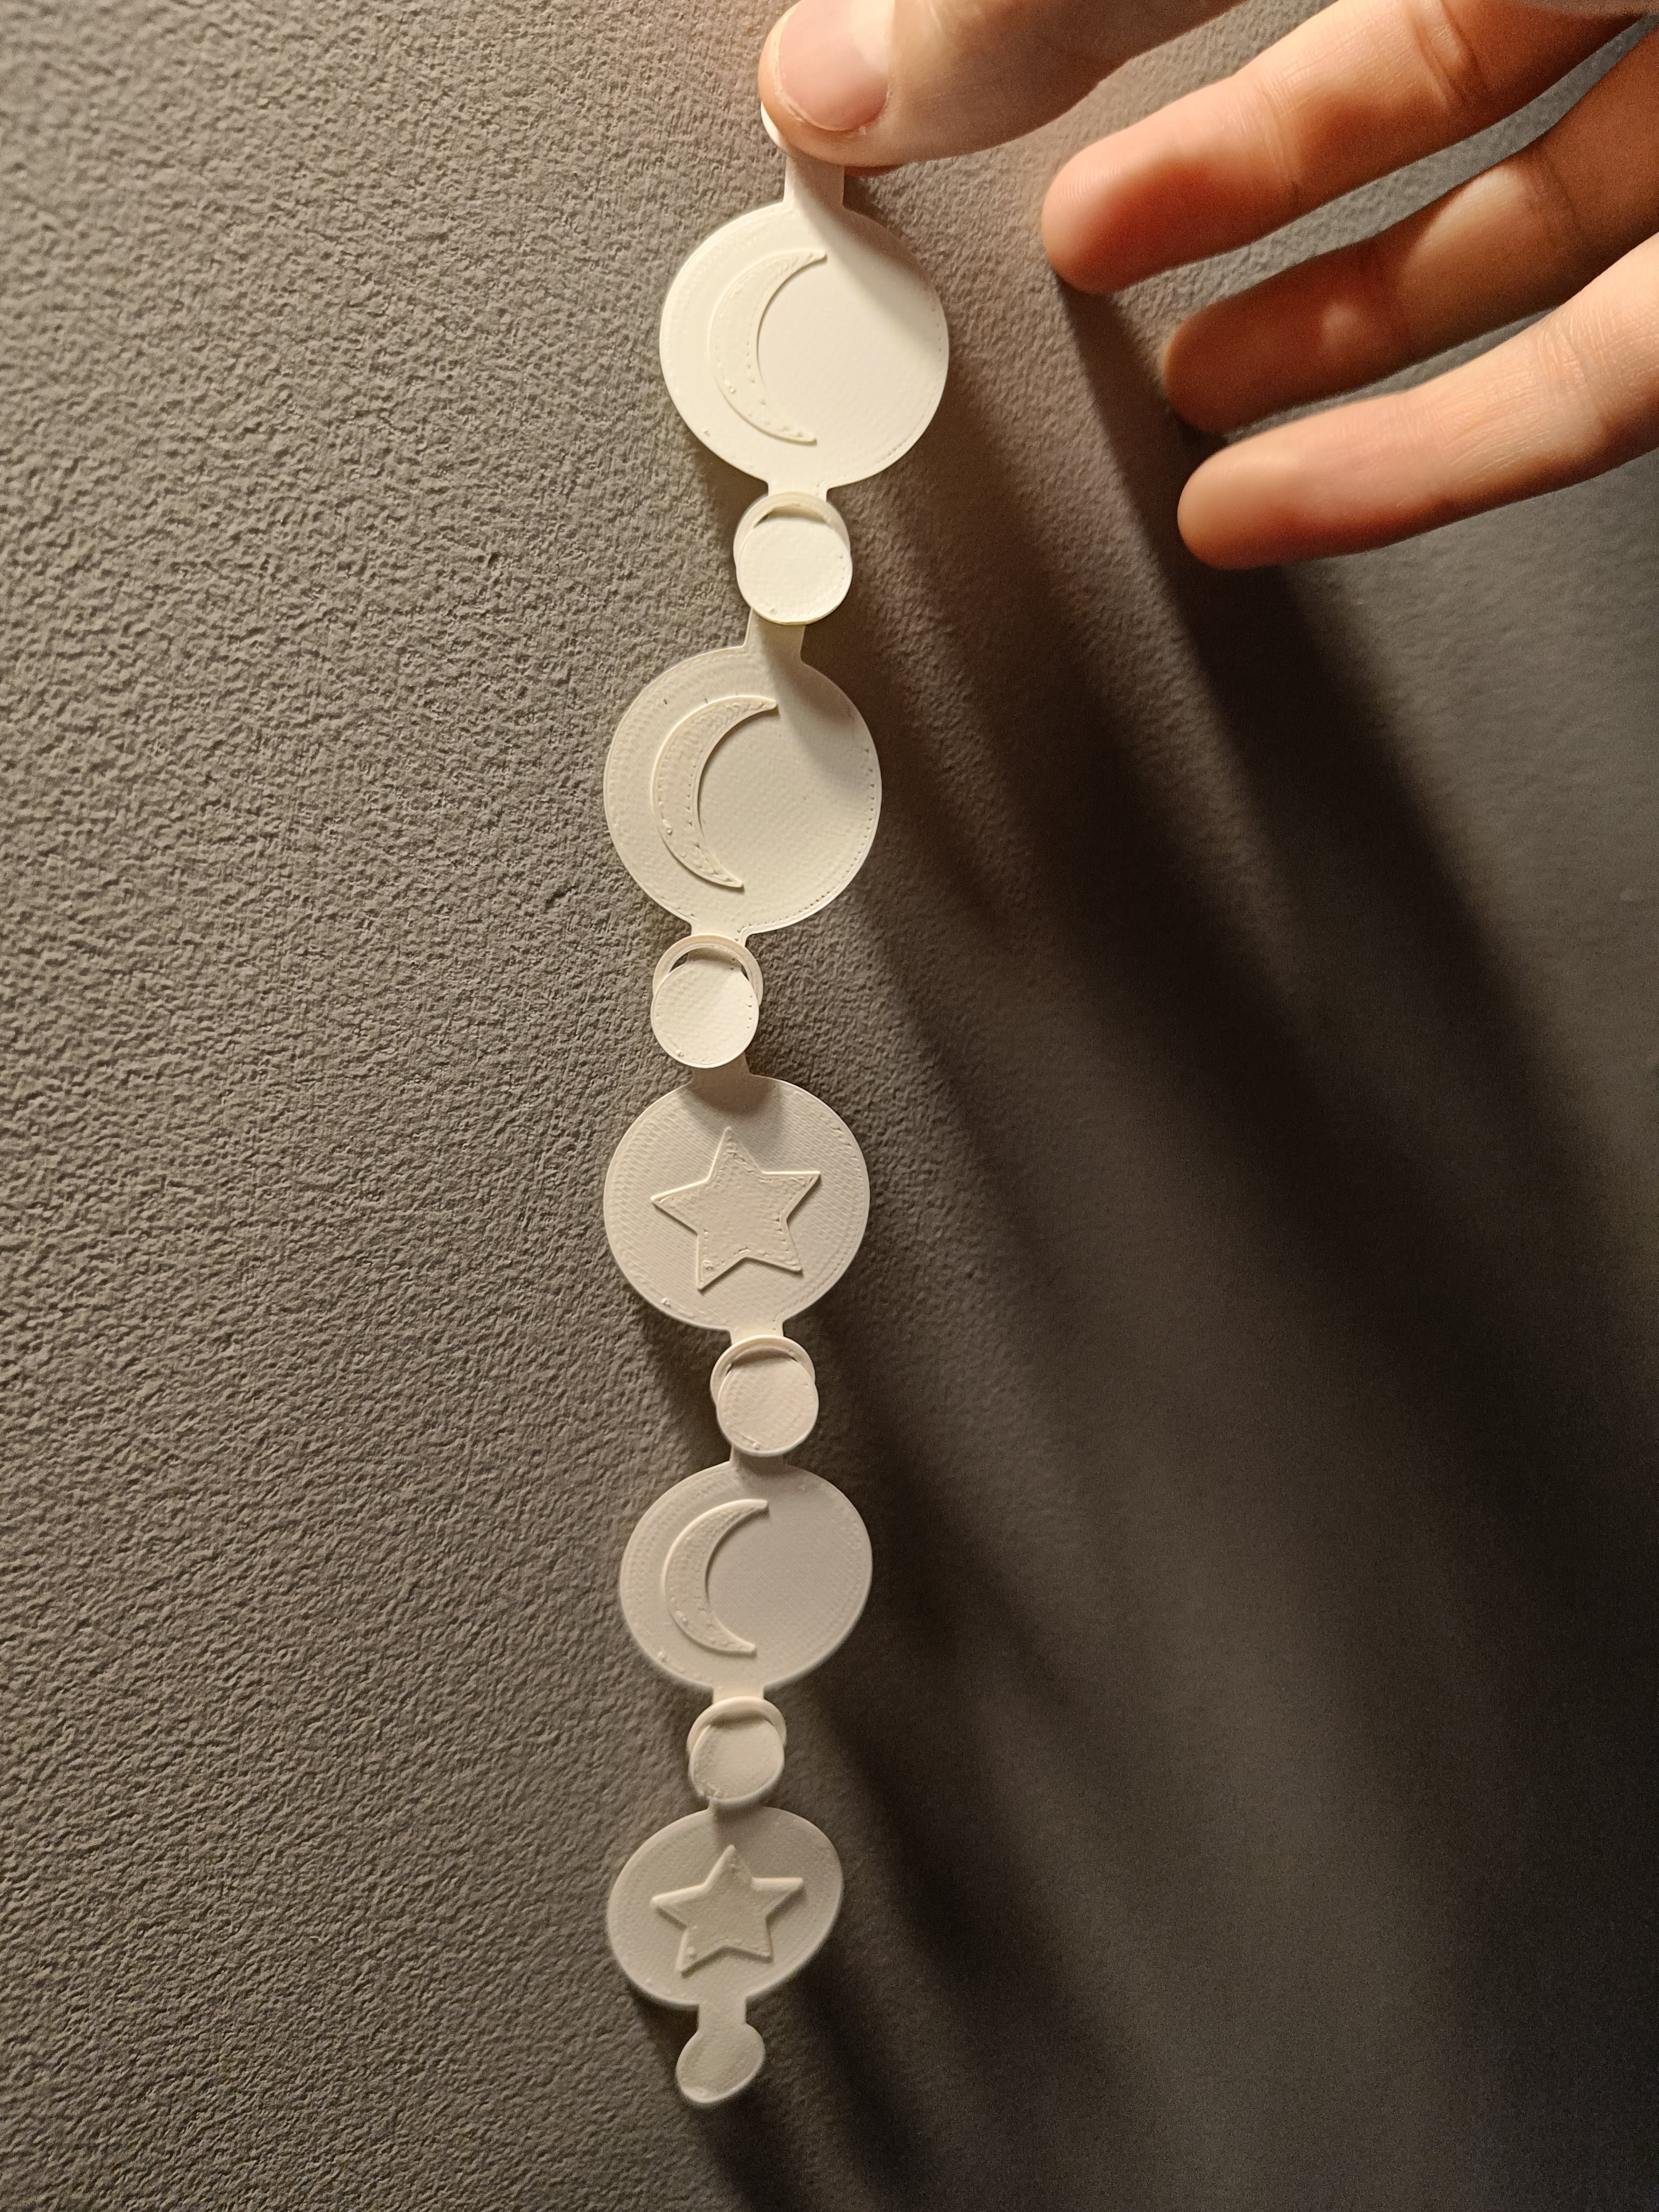
In the image above, you can see two of my "modular figures", together with two new connectors that I wanted to try out.
The next picture shows how the modules look when they are attached to the connector (it is a very primitive form).
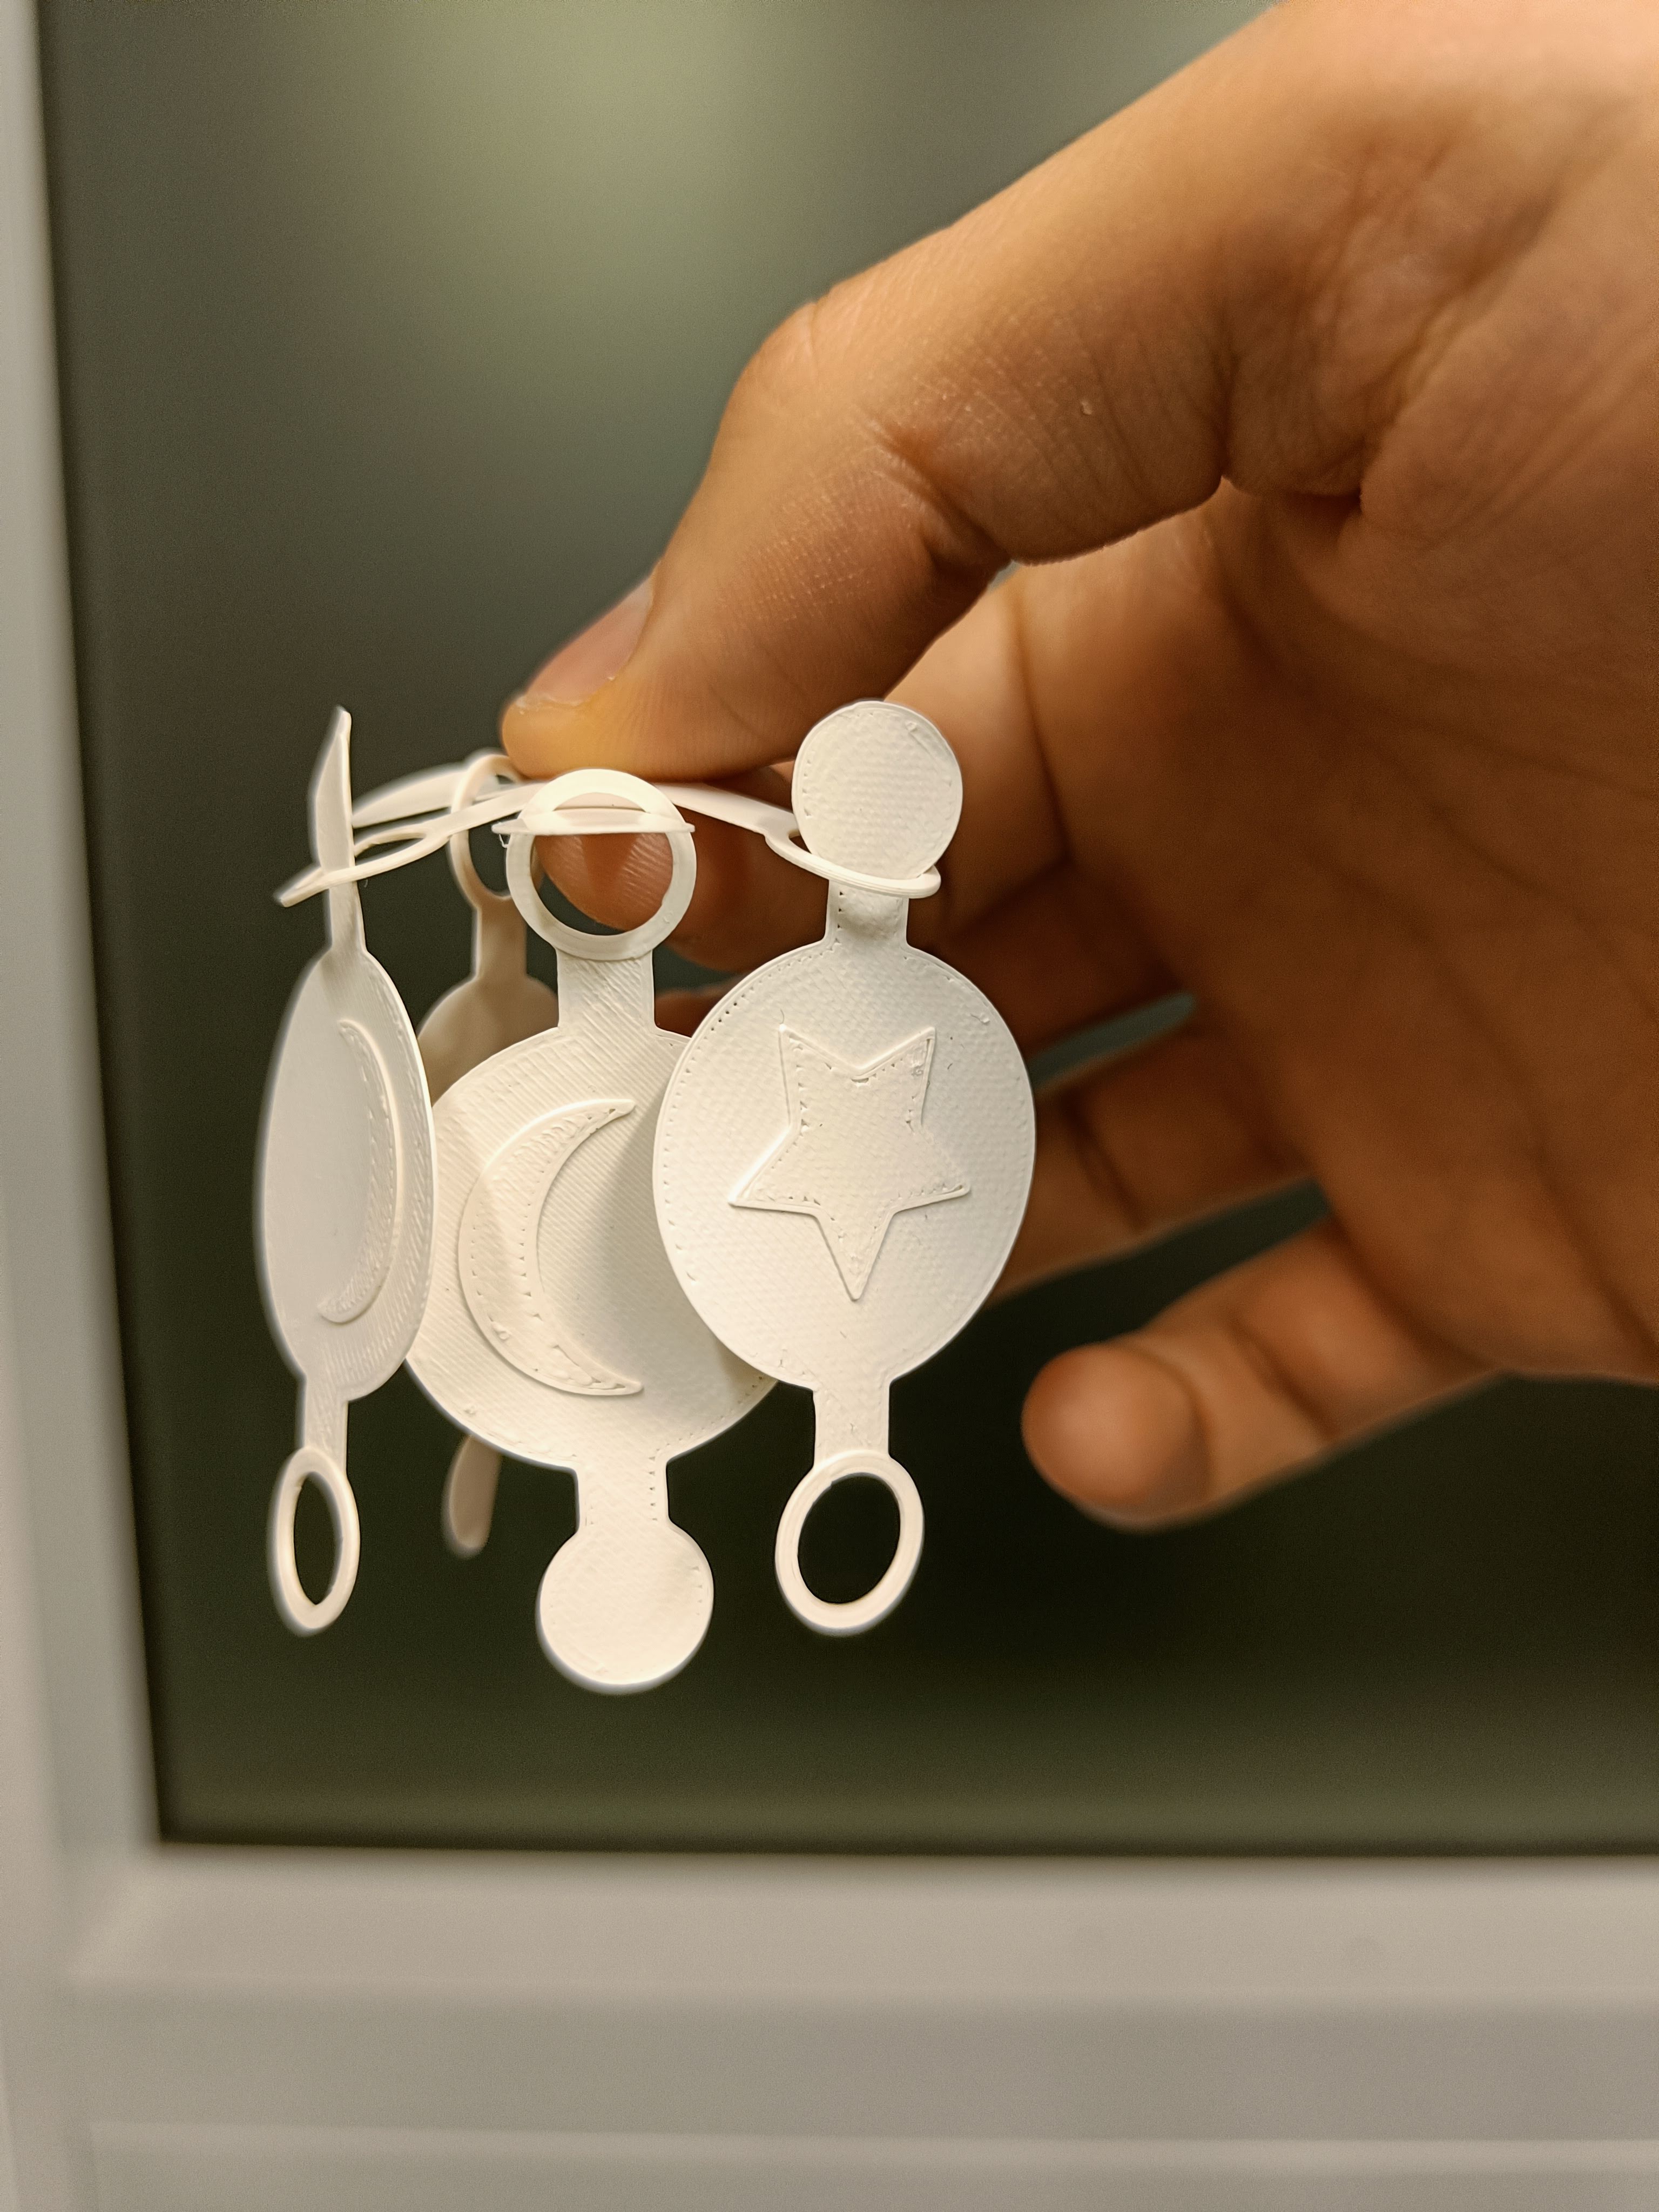
The cool part of these new objects is that can not only attach to connectors, but they can also be attached to each other using the same connector!